



The Ultimate Guide to Homemade Bread: Techniques & Recipes
Homemade bread is easier than you think. This ultimate guide covers the basics, essential techniques, and pro tips for baking bakery-worthy loaves at home.

This post may contain affiliate links.
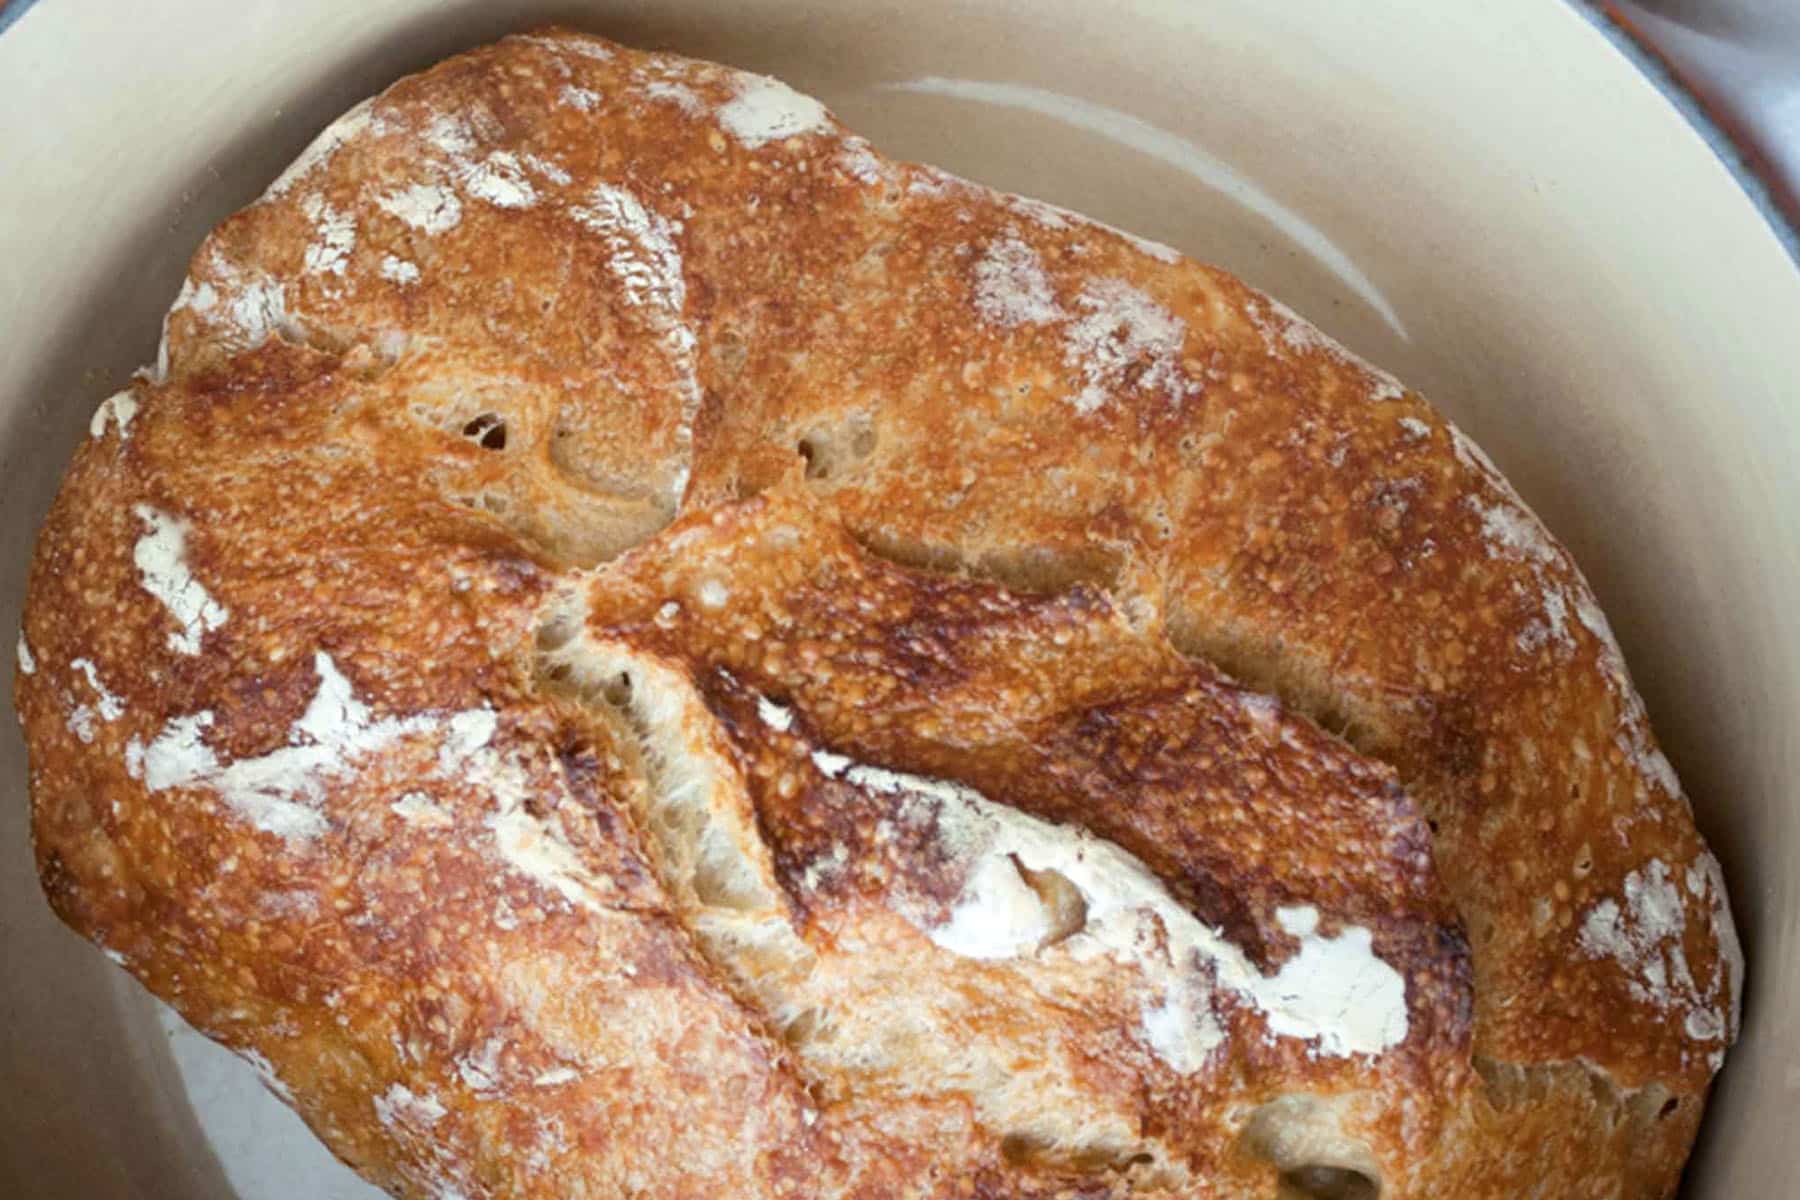
Homemade bread has a way of turning an ordinary kitchen into the coziest room in the house, and once you understand a few core principles, it is far more forgiving than it looks. Whether you are chasing a crackly artisan crust, a soft sandwich loaf, or a batch of pillowy rolls, nearly every yeasted bread comes down to the same handful of ingredients and the same predictable steps. This guide walks you through those fundamentals so you can bake with confidence instead of crossing your fingers and hoping.
I have been baking bread at home for years, and the recipes below cover a range of skill levels and styles, from a rustic Walnut Levain Bread to a fruit-studded Blueberry Lemon Artisan Bread. If you prefer enriched, tender doughs, the same techniques carry straight over to Soft Homemade Hamburger Buns and Easy Cheesy Garlic Bagels. Learn the how and why first, and every recipe in the collection gets easier.
In This Post
Understanding the Basics of Bread-Making
At its heart, most homemade bread relies on just four ingredients: flour, water, yeast, and salt. Flour provides the structure through its protein, which forms gluten when hydrated and worked. Water activates that gluten and gives the yeast the moisture it needs to grow. Yeast is the living engine that ferments the dough and produces the gas that makes it rise, while salt controls that fermentation, strengthens the dough, and brings out flavor. Understanding what each one does makes it much easier to troubleshoot later.
Flour is the ingredient that changes a loaf the most. Bread flour has a higher protein content than all-purpose flour, which builds more gluten and gives yeasted loaves better structure and chew. All-purpose flour still works beautifully for softer breads and rolls, while whole wheat and rye add flavor and density but need extra hydration. Yeast comes in two common forms: active dry yeast, which is usually dissolved in warm liquid first, and instant yeast, which can be mixed straight into the dry ingredients. They are largely interchangeable in most recipes once you know how each one behaves.
It also helps to know the difference between yeasted breads and quick breads. Yeasted breads, like the artisan and levain loaves above, rely on yeast and time to rise and develop flavor. Quick breads, such as Bourbon Banana Bread, skip the yeast entirely and lean on baking soda or baking powder, so they come together in minutes with no proofing. This guide focuses on yeasted breads, since those are the ones where technique makes the biggest difference.
Essential Techniques for Homemade Bread
Great bread is really a sequence of simple techniques done in order. Mixing comes first, and many bakers let the shaggy dough rest for 20 to 30 minutes before kneading, a step called autolyse that lets the flour fully hydrate and makes kneading easier. Kneading then develops the gluten into a smooth, elastic network. You can do this by hand on a lightly floured surface or let a stand mixer with a dough hook do the work. The dough is ready when it is smooth, springs back when poked, and can stretch thin enough to see light through it.
Next comes the first rise, or bulk fermentation, where the dough roughly doubles in a warm, draft-free spot. Rushing this stage is one of the most common mistakes, so let flavor and structure build on their own schedule. Once risen, gently shape the dough into its final form, whether that is a round boule, a sandwich loaf, or individual rolls like Pretzel Burger Buns. Shaping creates surface tension, which helps the loaf hold its form and rise upward instead of spreading out.
The final steps are proofing, scoring, and baking. The shaped dough gets a second, shorter rise until puffy but not overblown. Just before it goes in, scoring the top with a sharp blade or lame gives the loaf a controlled place to expand and that signature artisan look. For a crisp, bakery-style crust, introduce steam early in the bake by adding a pan of hot water to the oven or baking inside a covered Dutch oven. Bake until deeply golden, and use an instant-read thermometer to confirm the interior has reached the right temperature rather than guessing.
Easy Homemade Bread Recipes
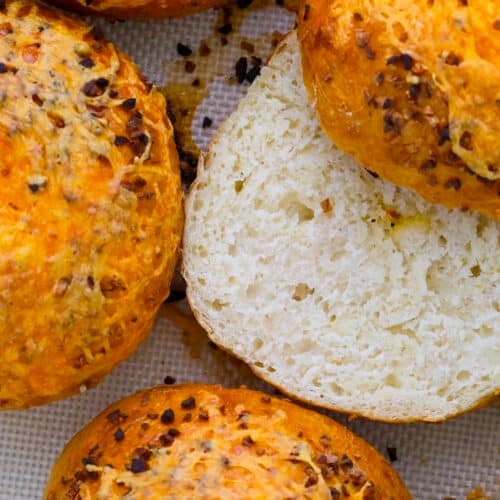
1. Cheesy Garlic Bagels

2. Homemade Hamburger Buns

3. Honey Challah Recipe
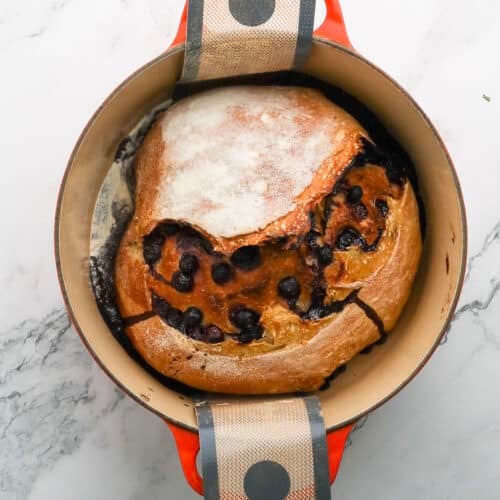
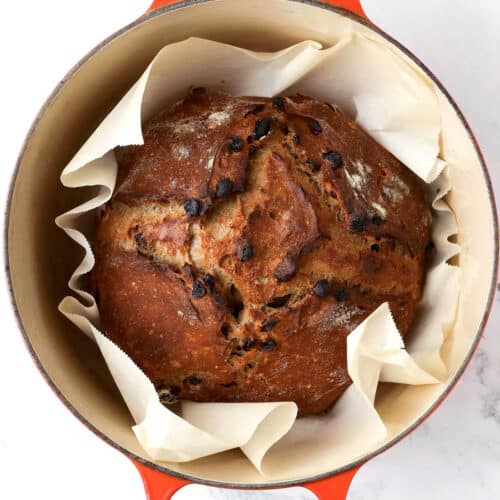
4. Blueberry Lemon Artisan Bread Recipe
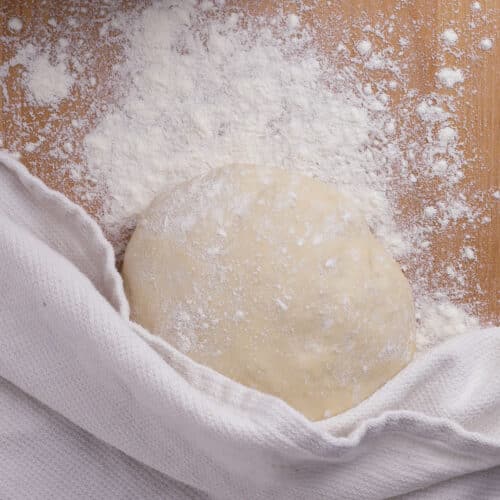
5. 20 Minute Pizza Dough Recipe

6. Pretzel Burger Buns Recipe
Tips for Successful Bread-Baking at Home
Small habits make the difference between a good loaf and a great one. These are the tips I come back to most often.
- Weigh your ingredients. A kitchen scale is the single best upgrade for consistent bread, because flour measured by volume can vary by a lot from cup to cup.
- Mind your water temperature. Aim for warm, not hot, since water above roughly 130 degrees Fahrenheit can kill the yeast before it ever gets started.
- Give the dough a warm home. Yeast is happiest around 75 to 80 degrees Fahrenheit, so find a draft-free spot, or use a turned-off oven with the light on as a proofing box.
- Do not skimp on preheating. Let the oven fully come to temperature, and use an oven thermometer, since many home ovens run hotter or cooler than the dial suggests.
- Season with intention. A finishing sprinkle of flaky salt or a brush of garlic butter transforms a plain loaf, and a Spiceology blend like a garlic or herb mix is an easy way to build flavor into savory doughs and toppings.
- Let it cool before slicing. As tempting as it is, cutting into a hot loaf releases steam and can leave the crumb gummy, so give it time to set.
How to Store and Freeze Homemade Bread
Homemade bread has no preservatives, so it will not last as long as store-bought, but a little care keeps it fresh and delicious. How you store a loaf depends on the type, since a crusty artisan boule and a soft sandwich loaf have slightly different needs. Get it right and you can enjoy a single batch for weeks.
- Room temperature: Keep crusty artisan loaves cut-side down or in a paper bag to protect the crust, and store softer breads in a bread box or wrapped in a clean towel for 2 to 3 days.
- Skip the fridge: Refrigeration actually speeds up staling, so it is the one place bread does not belong.
- Freeze for the long haul: Slice the fully cooled loaf first, then wrap it tightly and seal it in an airtight bag for up to 3 months.
- Thaw smart: Pull individual slices as needed and toast them straight from frozen, or thaw a whole loaf at room temperature with the wrapping still on.
- Refresh a loaf: Revive a day-old crust by misting it lightly with water and warming it in a 350 degree Fahrenheit oven for a few minutes.
Essential Tools & Equipment
You do not need a fully stocked bakery to make great bread at home, but a few key tools make the process easier and far more consistent. Most of these are inexpensive, last for years, and pay for themselves the first time your loaf comes out exactly the way you pictured it.
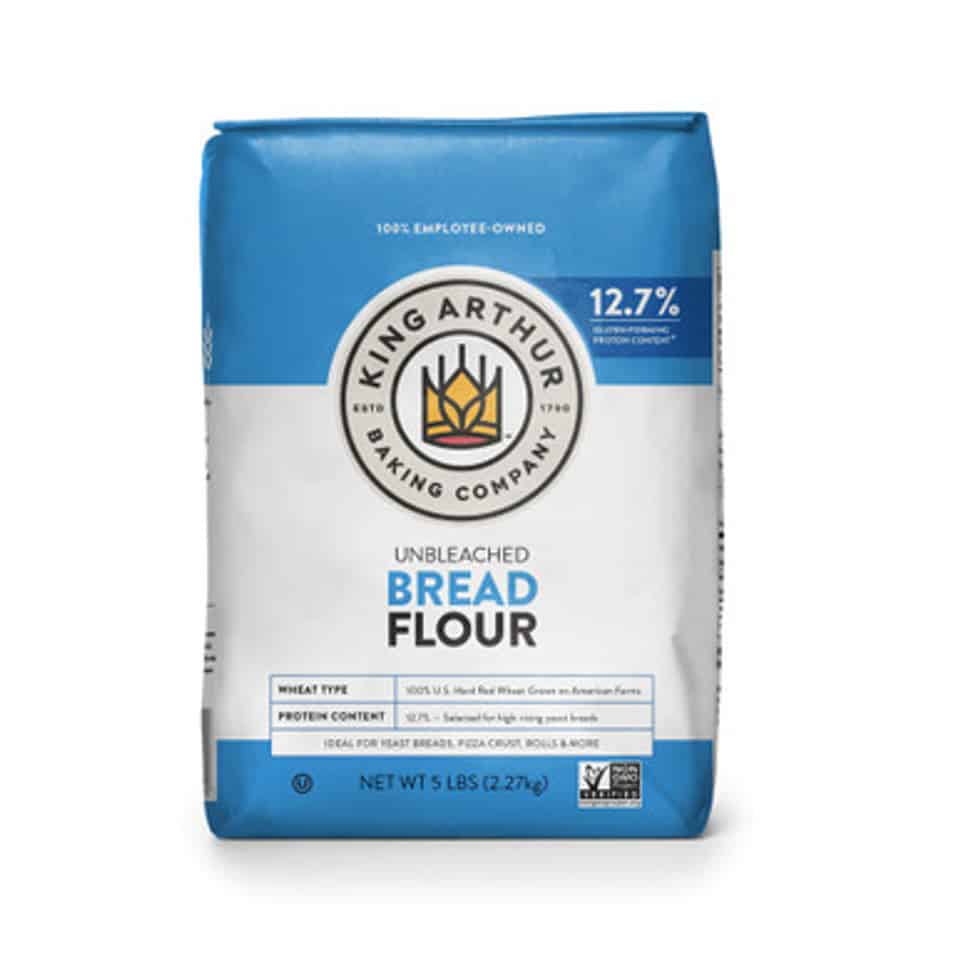
Flour: good flour will make all the difference when you’re making bread. Choose a brand that has high quality ingredients like King Arthur Flour.
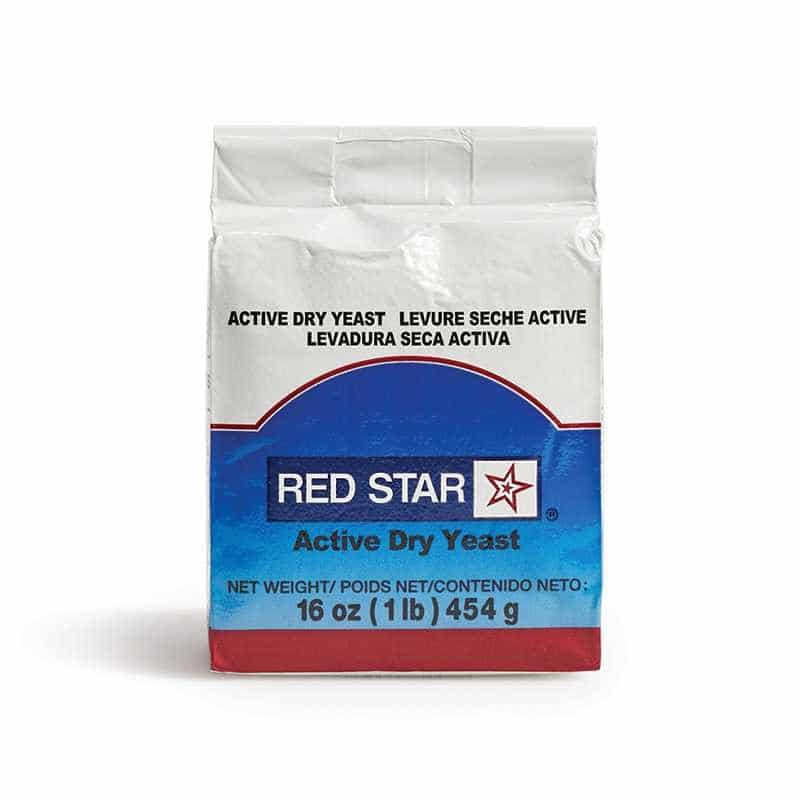
Yeast: active dry yeast and instant yeast are largely interchangeable, but active dry is typically dissolved in warm liquid first to activate and benefits from a longer rise time, while instant yeast has a finer grain that lets you mix it straight into the dry ingredients and can oftentimes be used immediately or with short rise times.
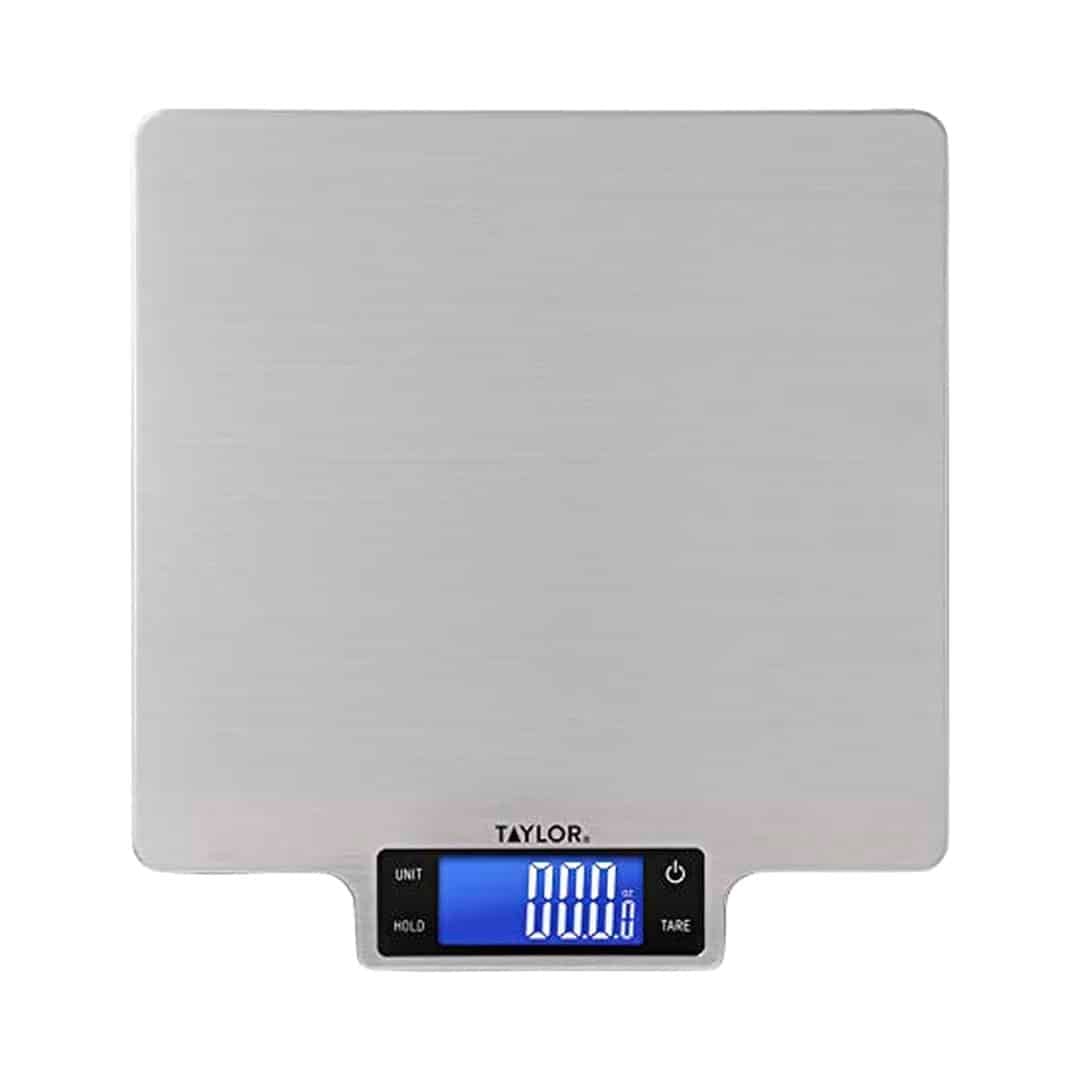
Kitchen scale: The single most useful bread tool there is. Weighing flour and water instead of scooping gives you consistent results every single bake.
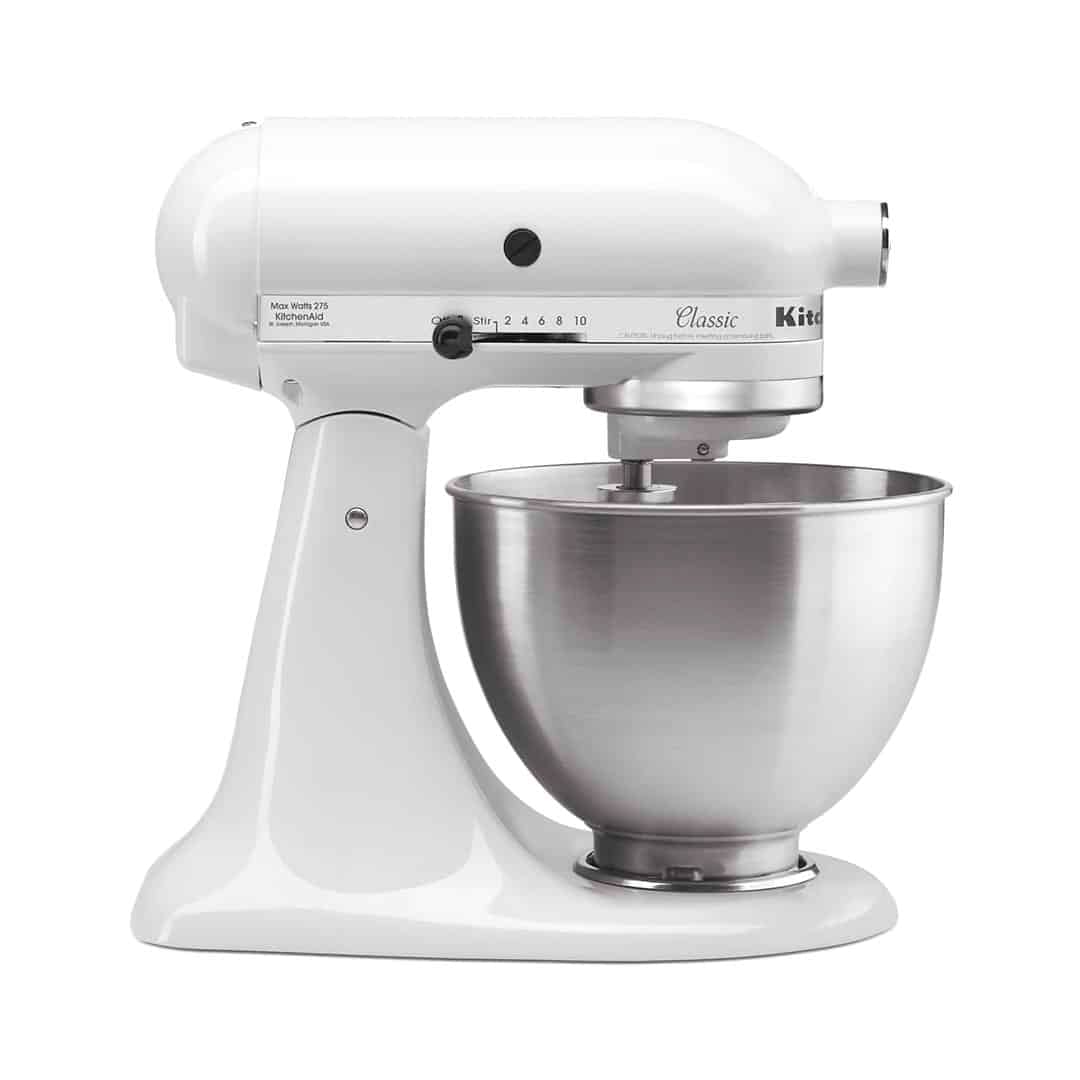
Stand mixer with a dough hook: Optional but handy for kneading enriched or stiff doughs, though a bowl and your hands will always get the job done.
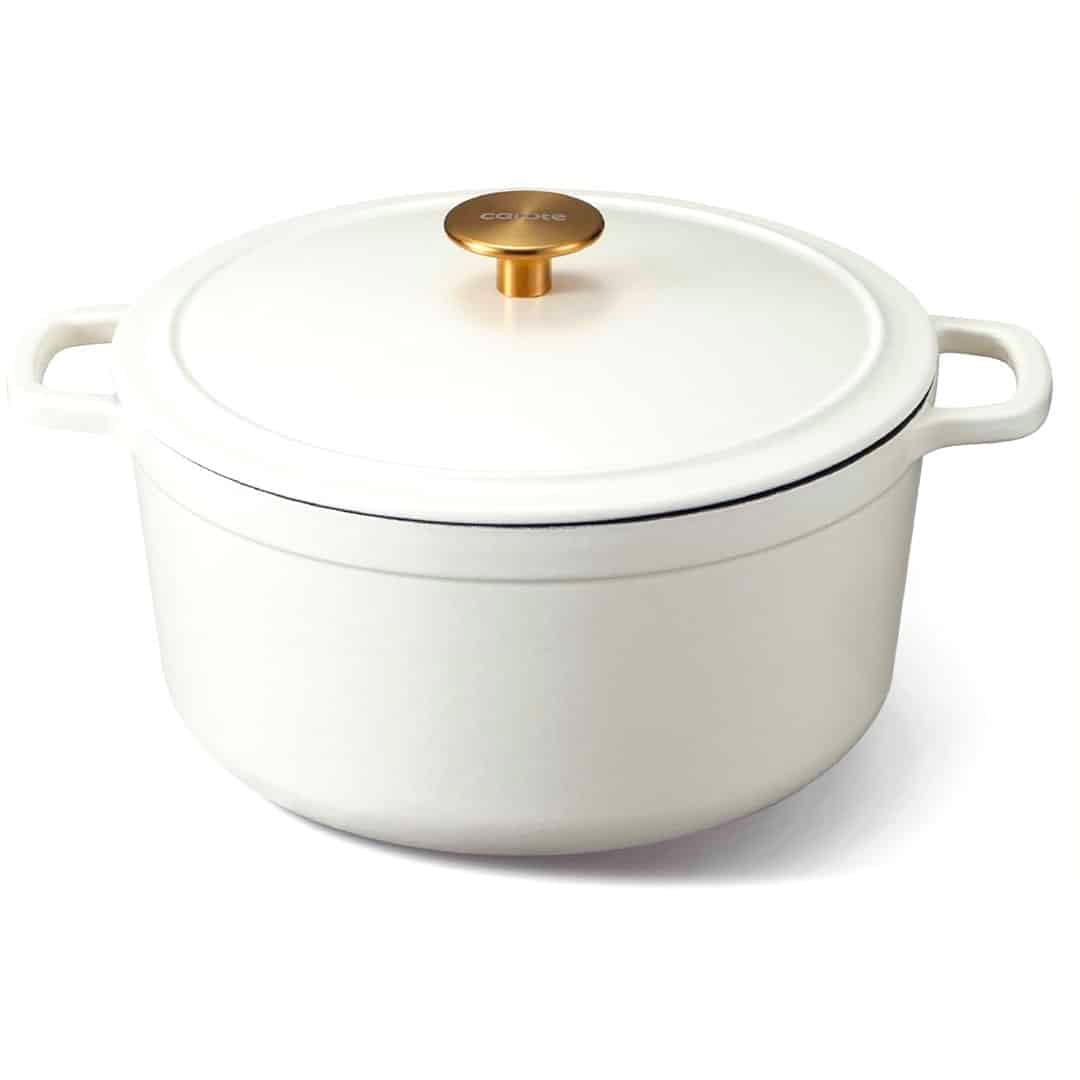
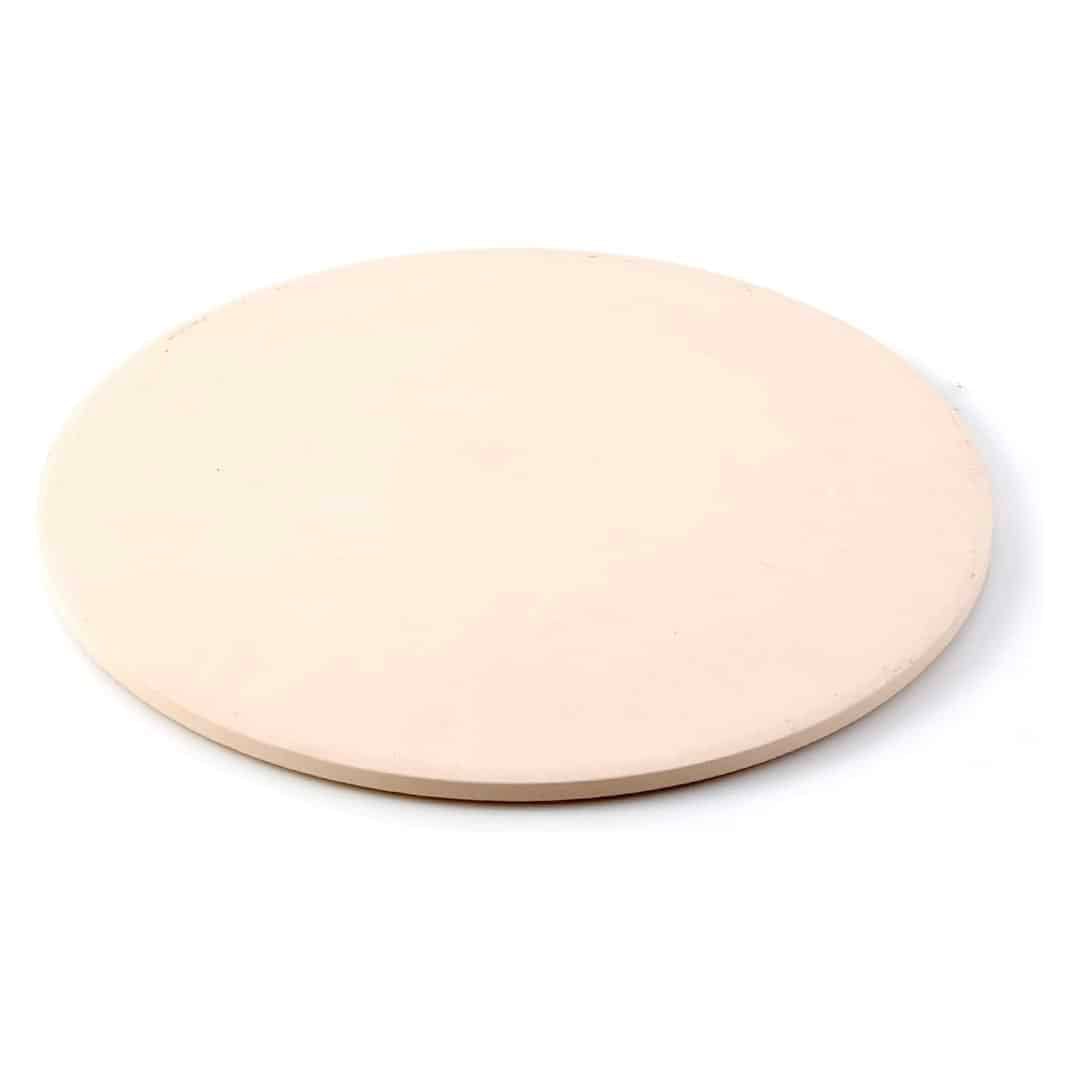
Dutch oven or baking stone: A heavy covered pot traps steam for a crackly artisan crust, while a stone or steel gives rolls and flatbreads a crisp bottom.
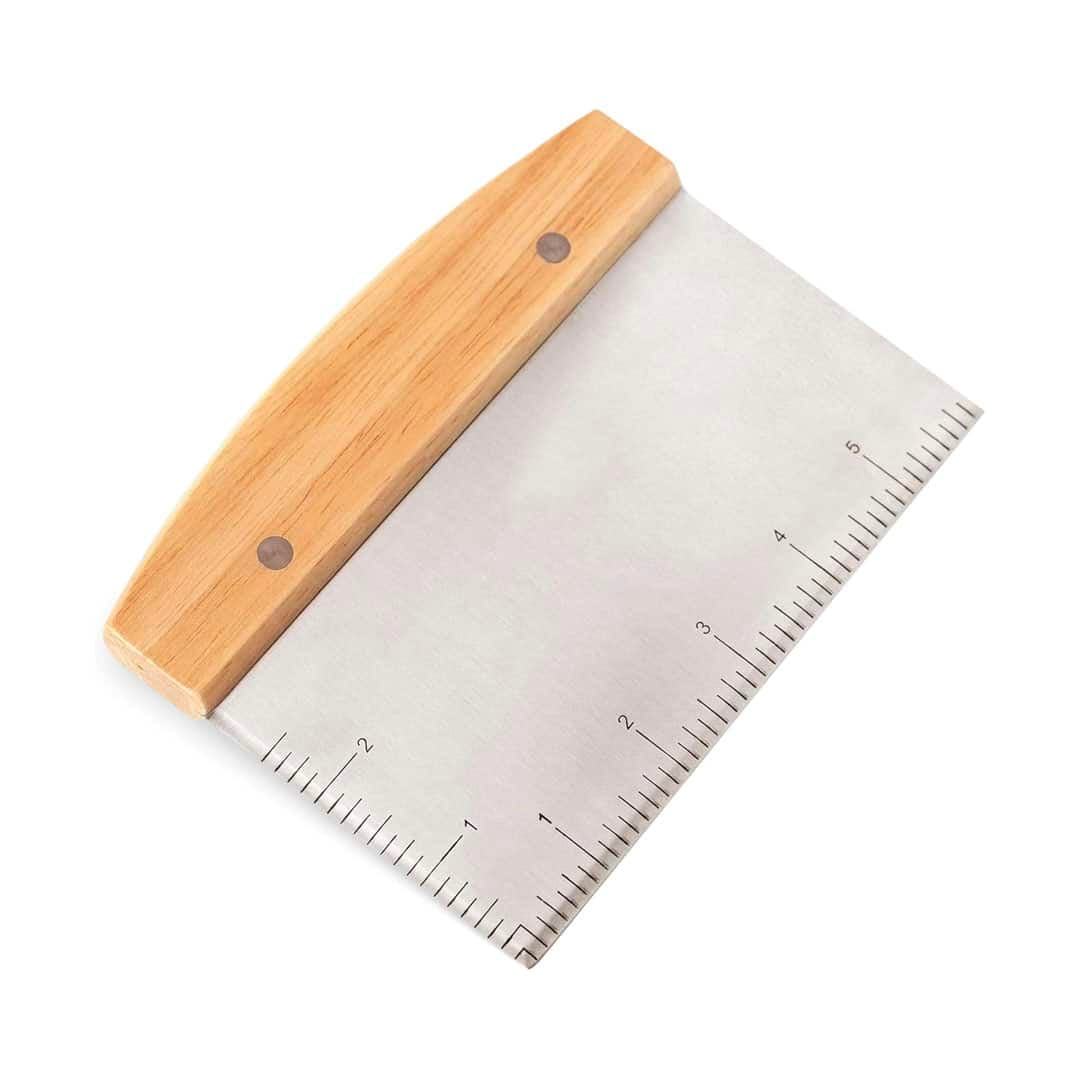
Bench scraper: Makes dividing, shaping, and cleaning up sticky dough so much easier, and it is one of the cheapest upgrades you can buy.
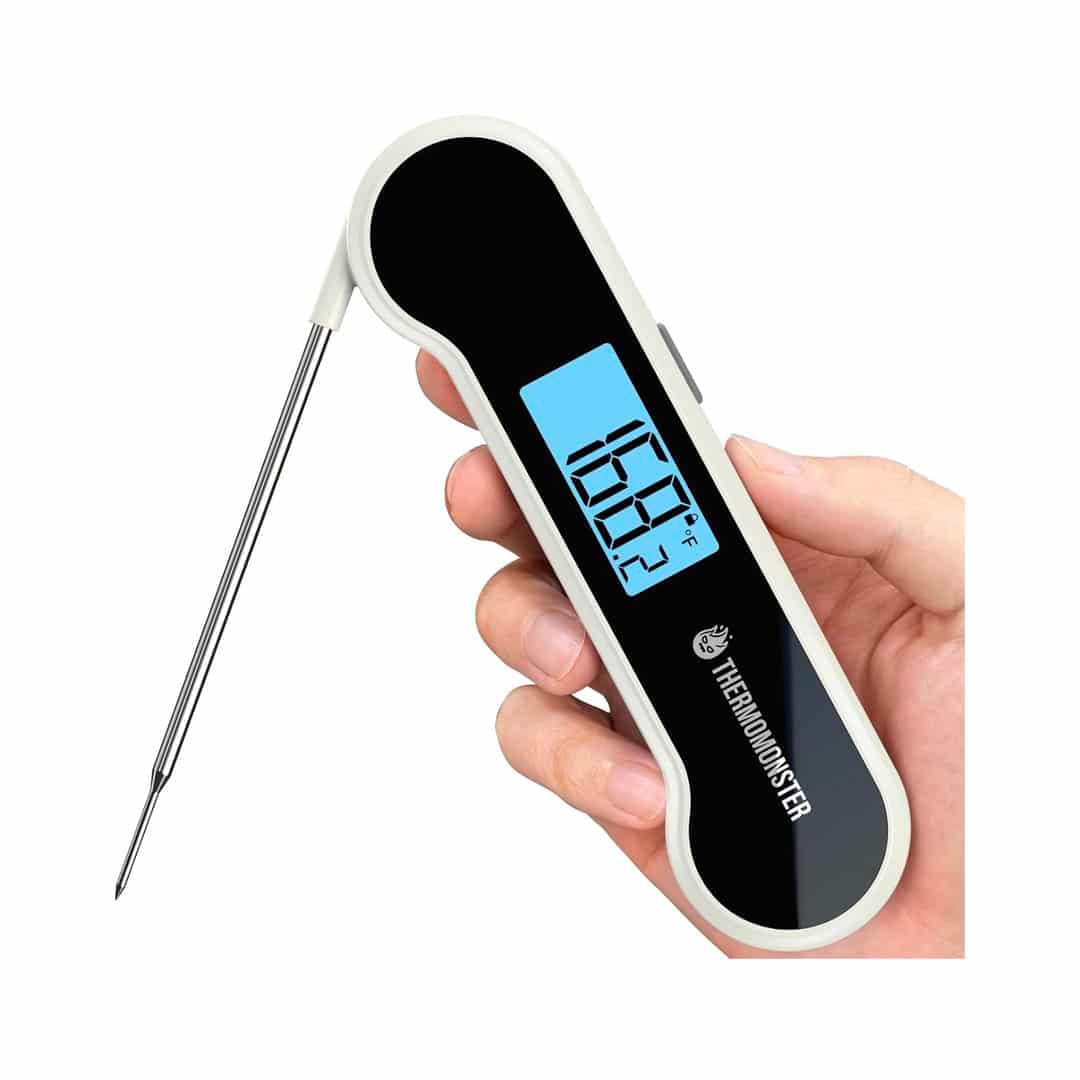
Instant-read thermometer: Takes the guesswork out of doneness, since a finished loaf reads a specific internal temperature rather than looking done on the outside.
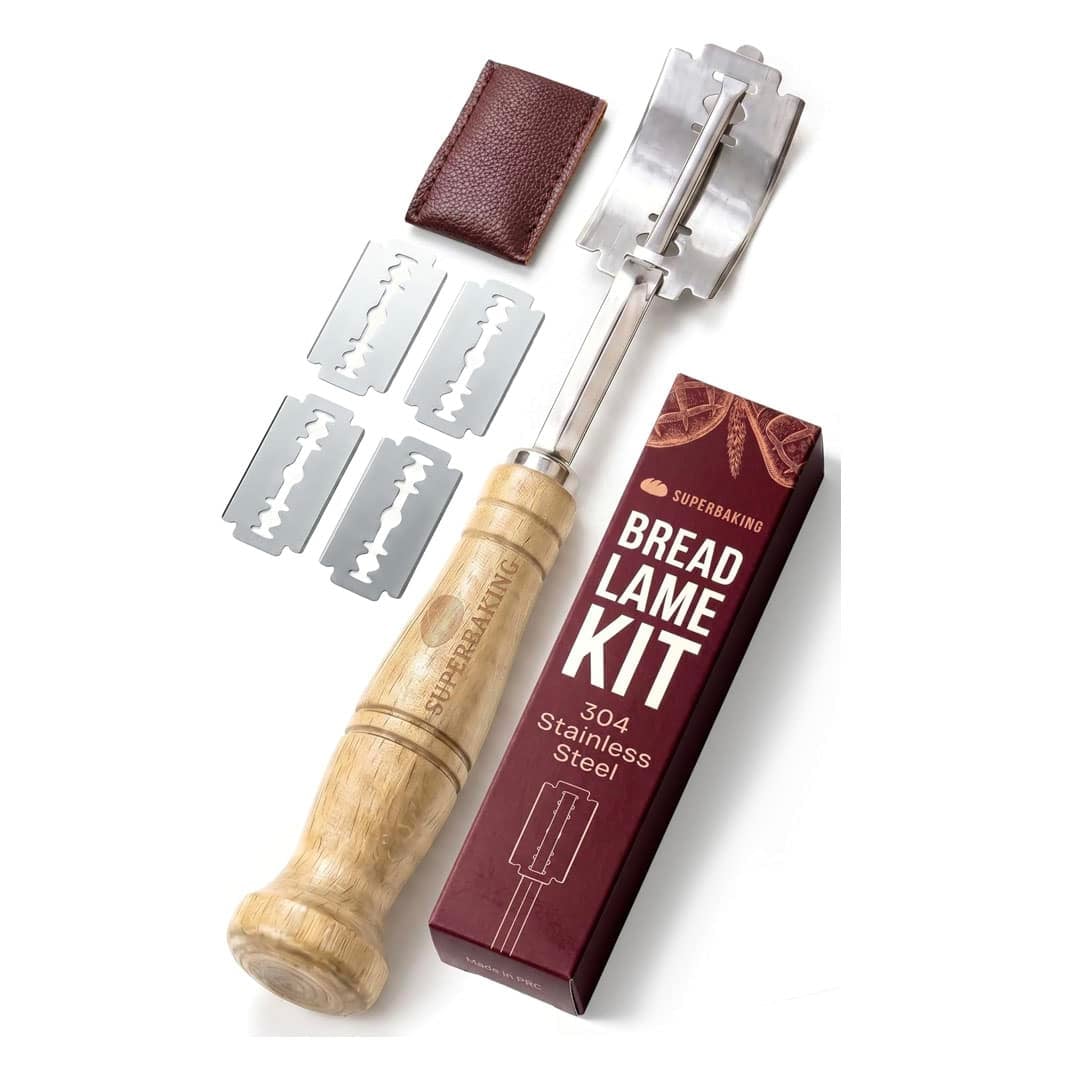
Lame or sharp knife: Used to score the top of the dough just before baking so the loaf expands where you want it to.
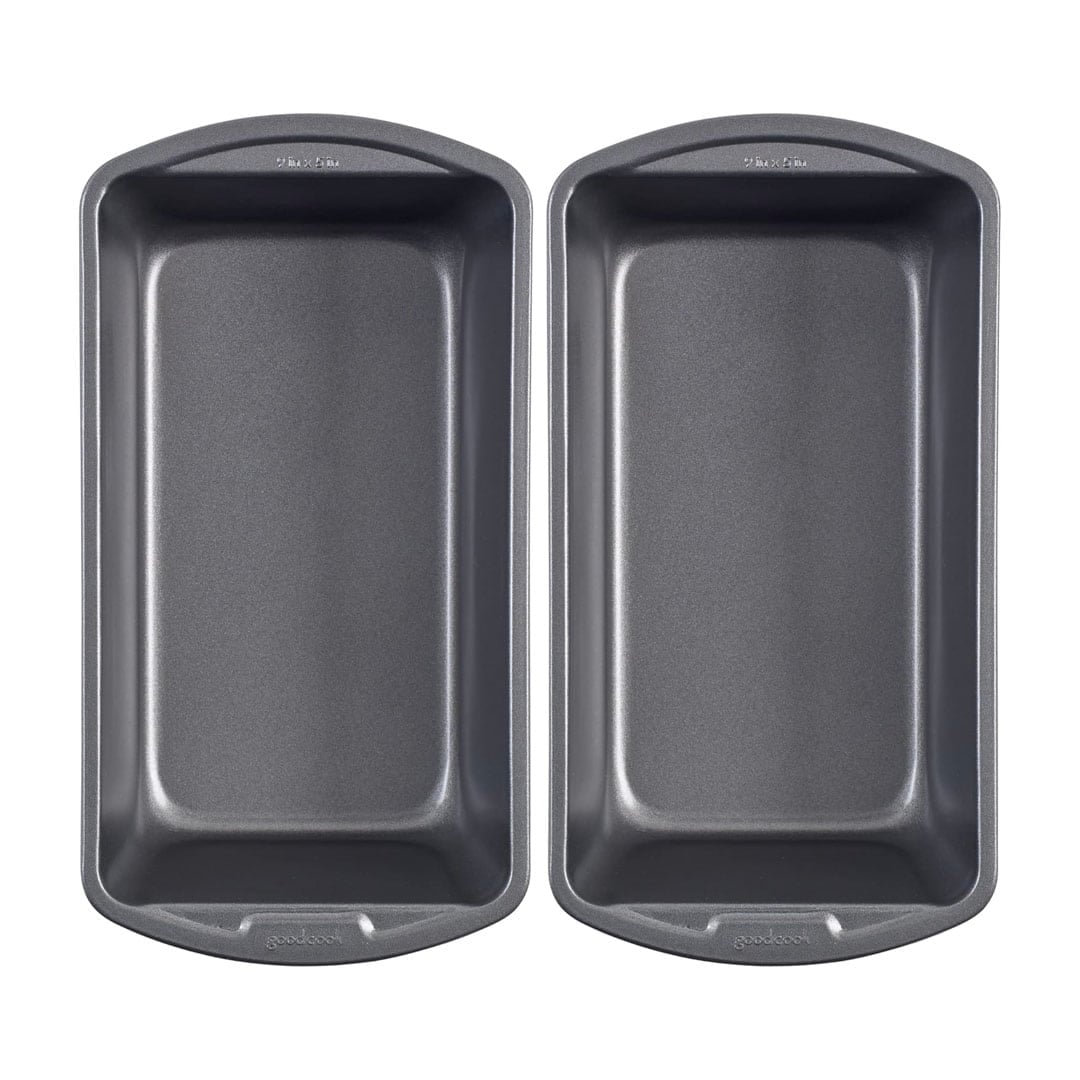
Loaf pans: A standard loaf pan handles making sandwich breads and can double duty as a Dutch oven by using the second pan to cover the first.
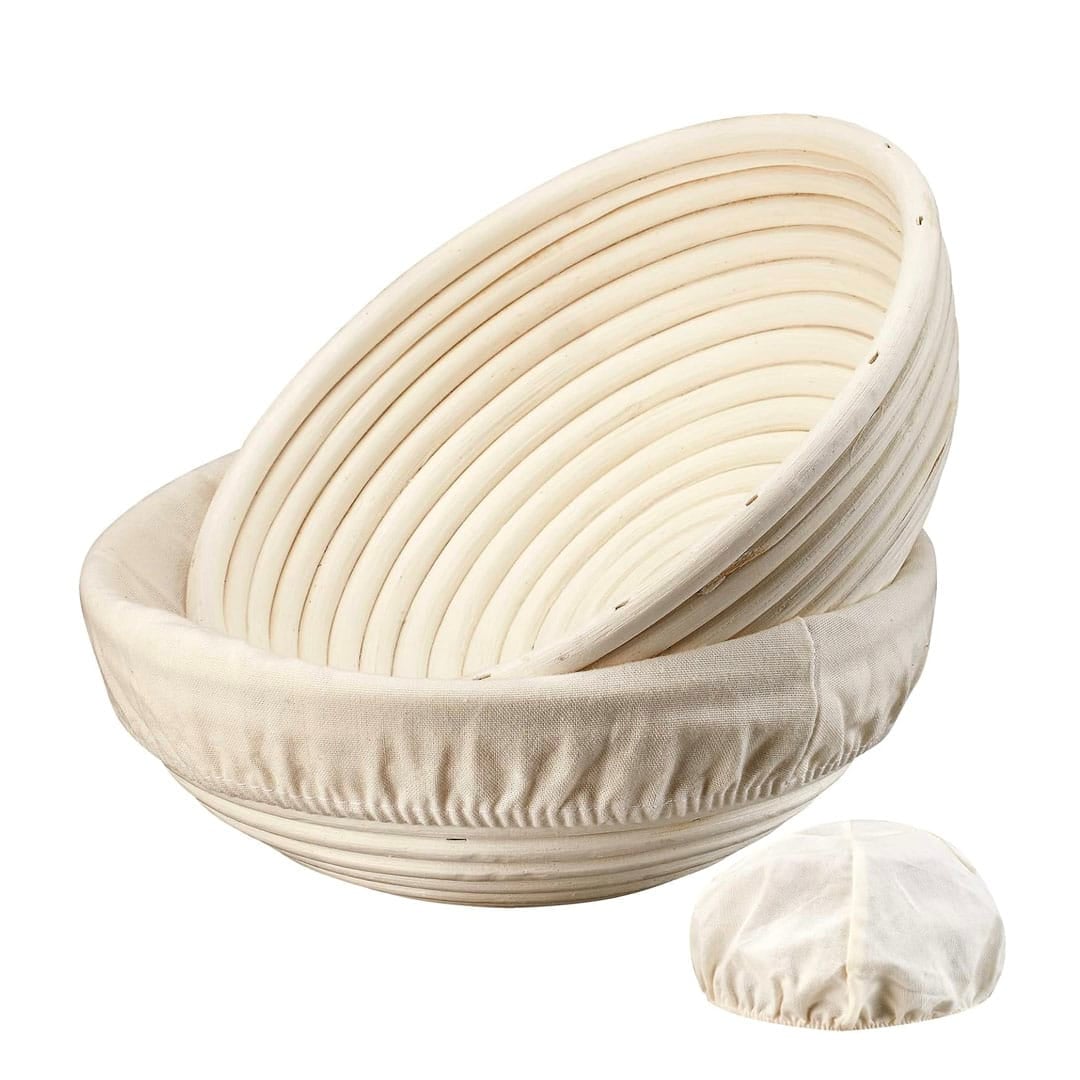
Proofing basket: a banneton supports round artisan loaves as they rise.
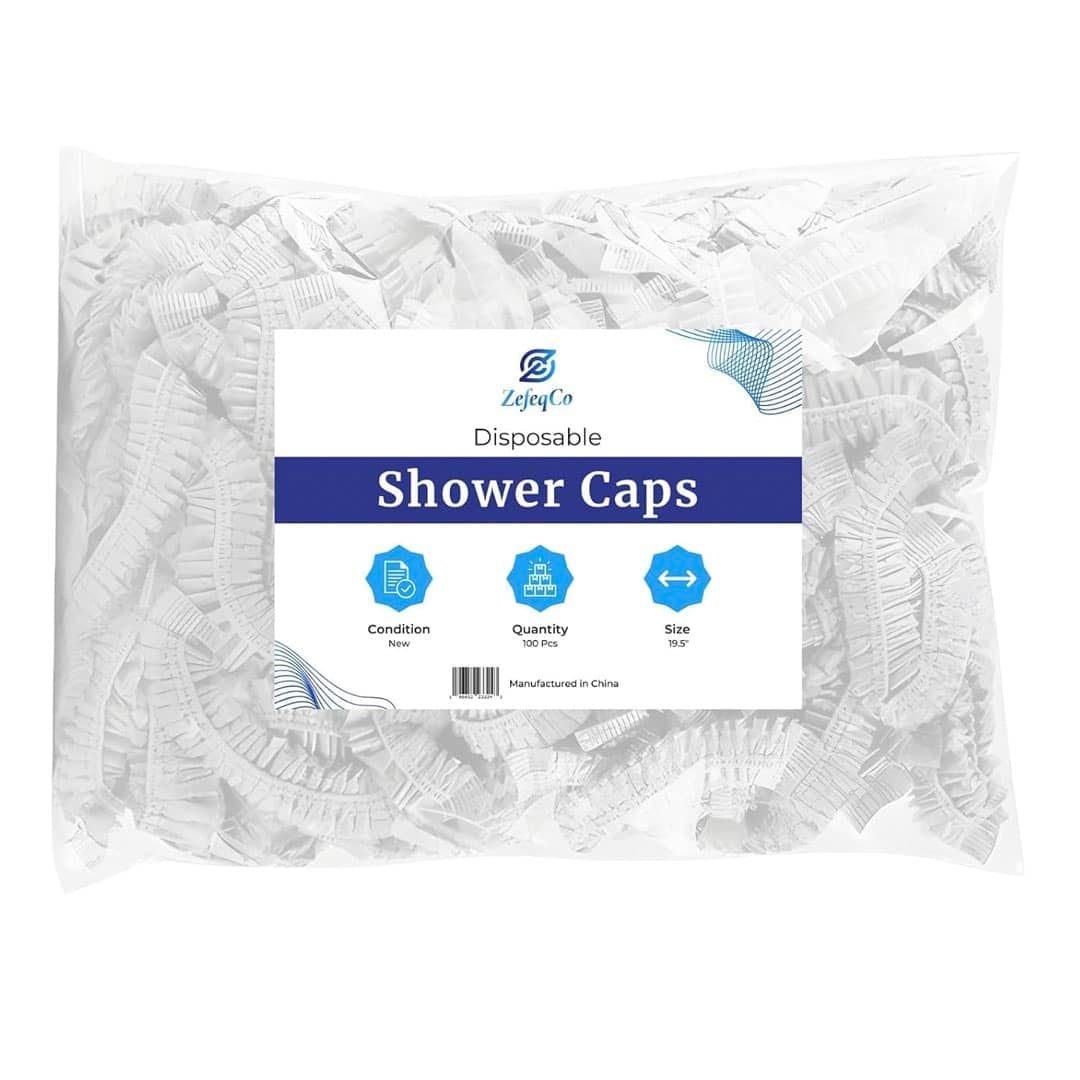
Disposable shower caps: are an easy way to cover your bannetons during the rising phase.
Frequently Asked Questions
No. Most homemade bread uses only four basic ingredients, and while it takes time for the dough to rise, the actual hands-on work is minimal. Beginner-friendly recipes like no-knead loaves and simple rolls are a great place to start before moving on to artisan styles.
Bread flour is the best all-around choice for yeasted loaves because its higher protein content builds more gluten, which gives bread better structure and chew. All-purpose flour works well for softer breads and rolls, and you can blend in whole wheat or rye for added flavor.
The most common culprits are dead yeast, liquid that was too hot and killed the yeast, or too little rising time in a cool room. Always check that your yeast is fresh, use warm rather than hot water, and give the dough a warm, draft-free spot to proof.
Steam is the secret. Adding a pan of hot water to the oven or baking inside a covered Dutch oven traps moisture early in the bake, which lets the crust expand before it sets and turns crisp and golden.
Most homemade bread is best within two to three days stored at room temperature in a paper bag or bread box. For longer storage, slice the loaf and freeze it, then toast or thaw individual pieces as needed.
Absolutely. Bread was made by hand long before mixers existed. Kneading on a lightly floured surface works perfectly, and no-knead recipes skip the effort entirely by using a long, slow rise to develop the dough instead.
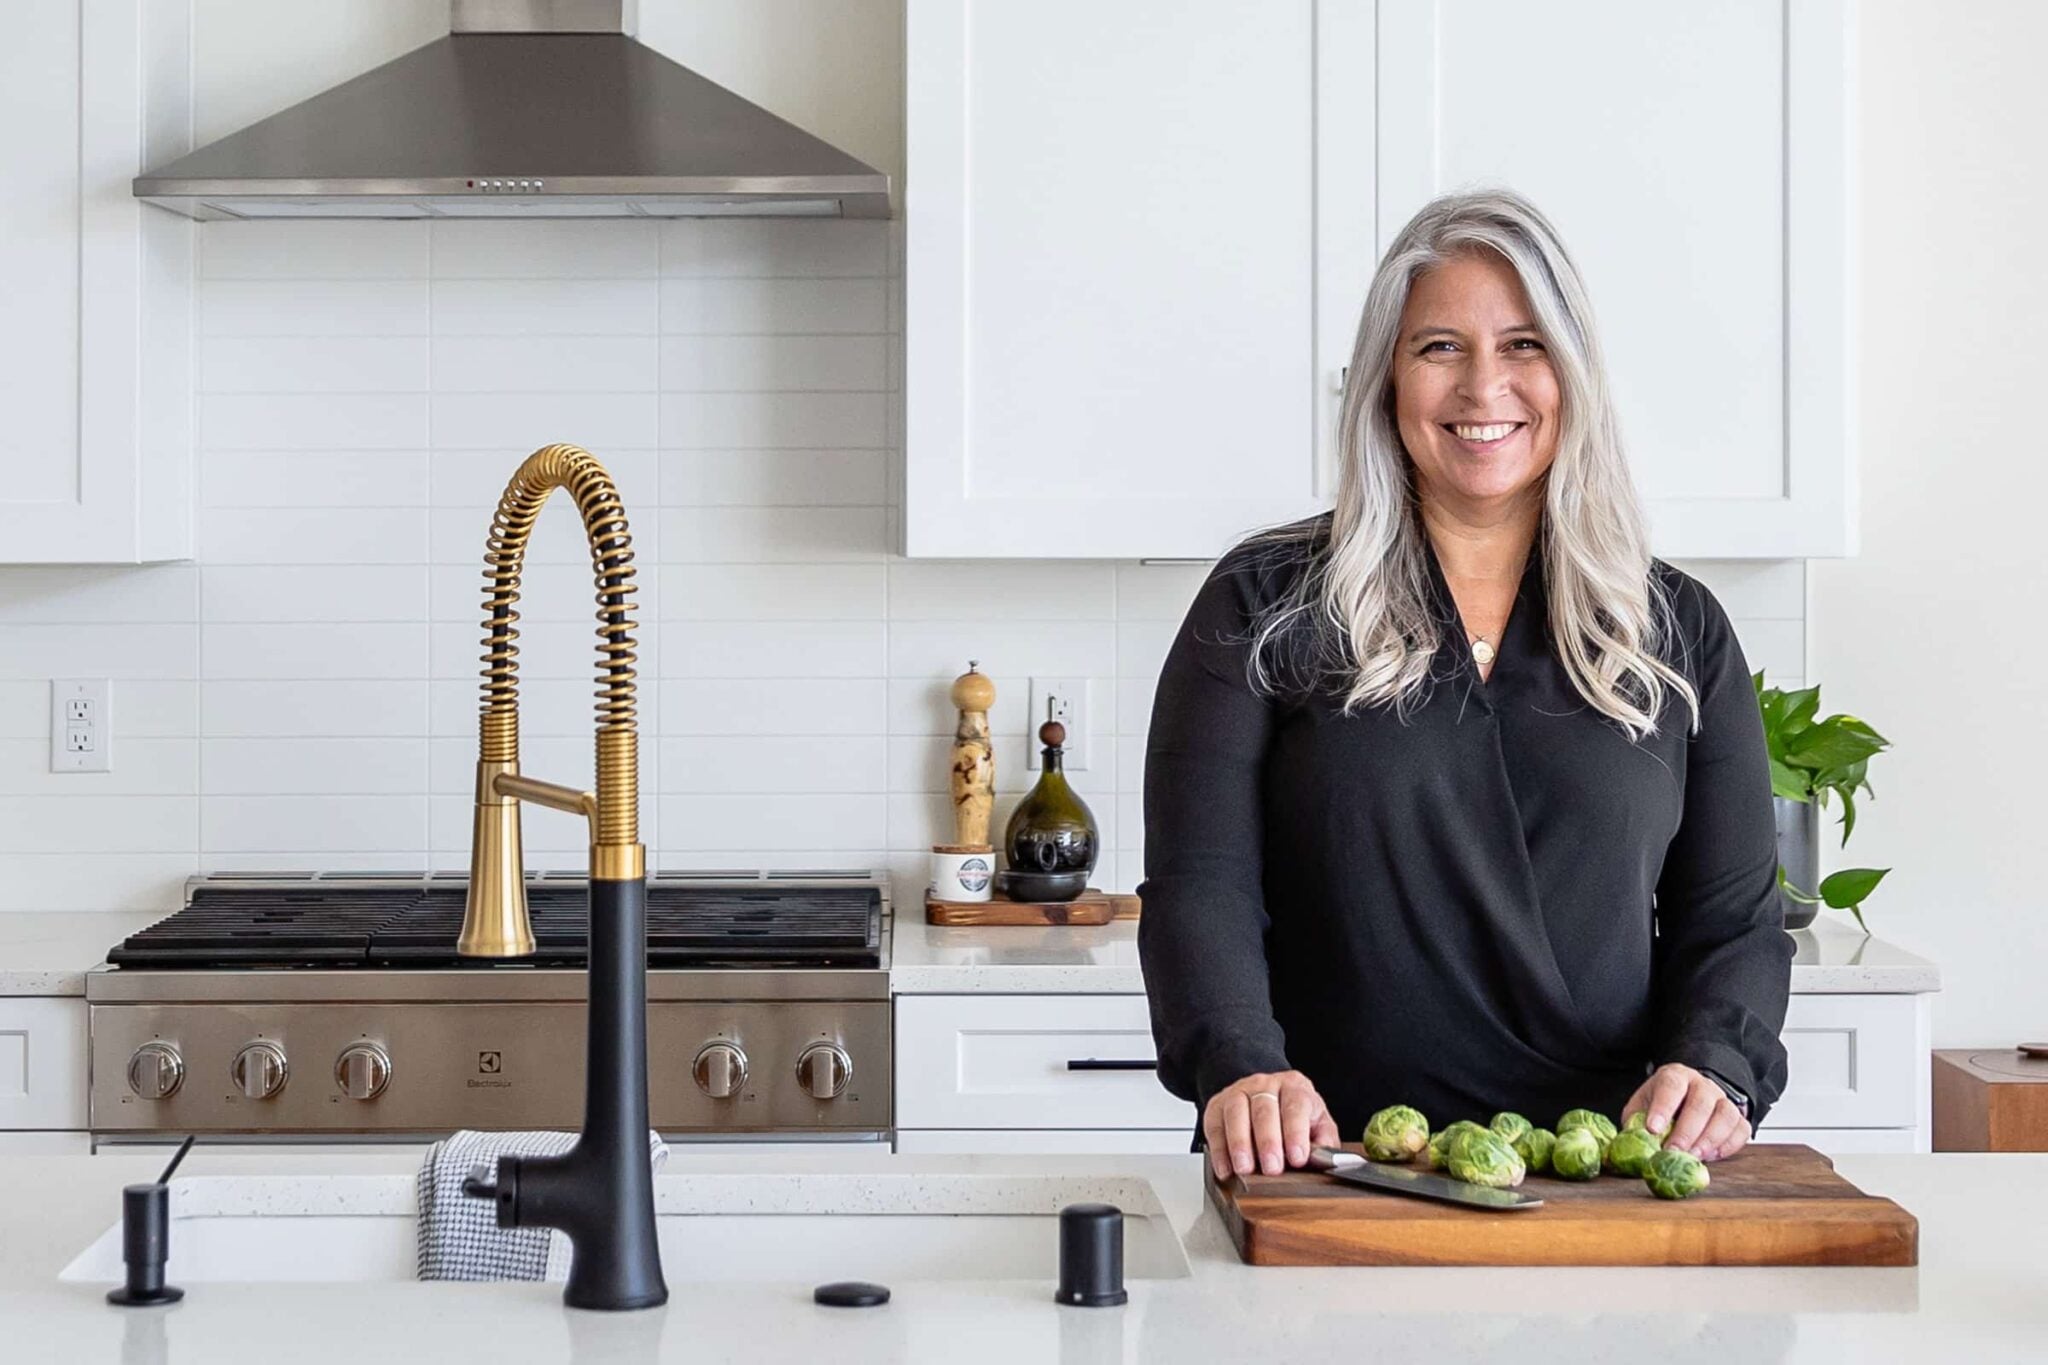
Hi! I’m Heather
I’m Heather, a recipe developer and content creator based in Vancouver, Washington. I started Farmgirl Gourmet in 2006 because I believed weeknight dinners shouldn’t be boring and gourmet shouldn’t mean complicated. I’m also the co-founder of Spiceology, so safe to say I think about food for a living. Stick around for recipes that actually make it into your regular rotation.