


Easy No Knead Artisan Bread (Dutch Oven)
There’s something magical about the smell of freshly baked bread wafting through your kitchen. The crackle of the crust as it cools, the soft, airy crumb that’s just begging to be slathered with butter, it’s pure comfort in every bite.

This post may contain affiliate links.

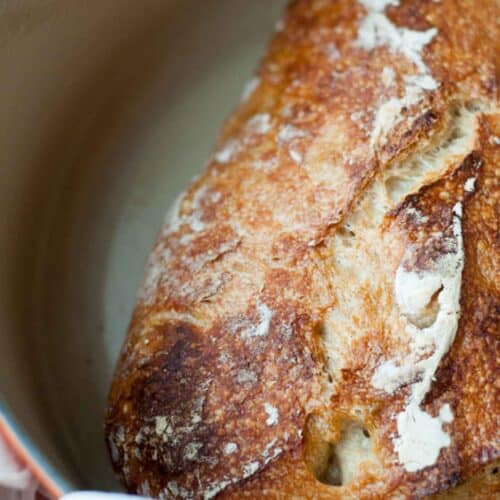
This easy no knead bread is the loaf that turns nervous beginners into confident home bakers, and it only takes four ingredients to pull off. No stand mixer, no kneading, no bread-baking experience required. You stir everything together in about five minutes, let time do the heavy lifting overnight, and the next day your Dutch oven does the rest. The result is a crackly, golden crust with a soft, airy crumb that looks and tastes like it came straight from a fancy bakery.
If you are already a fan of my Cinnamon Raisin Bread or No Knead Cheese Studded Dinner Rolls, this is the master recipe behind both of them. Slice it thick for the best grilled cheese of your life, serve it alongside a bowl of French Onion Soup, or just eat it warm with a ridiculous amount of butter. No judgment here.
In This Post
Why This Works
The magic of no knead bread comes down to time and hydration. Traditional bread recipes rely on kneading to develop gluten, the protein network that gives bread its structure and chew. This recipe skips the kneading entirely by using a wetter dough and a long, slow fermentation of 12 to 18 hours. During that time, the gluten develops on its own, building strength and flavor without any effort from you. The longer the rise, the more complex the flavor, which is why an overnight fermentation produces a loaf that tastes far more impressive than the five minutes of effort that went into it.
The Dutch oven is the other key player. Baking bread in a covered pot traps the steam released from the dough in the first 30 minutes, which keeps the crust soft long enough for the loaf to fully expand before setting. Once the lid comes off, the dry oven heat takes over and creates that deep golden, crackling crust. It mimics the steam-injected professional bread ovens that bakeries use, and you get bakery-quality results right in your home kitchen.
Heather’s Recipe Notes
Drawing from 20 years of recipe development and my time co-founding a spice company, here’s what makes this recipe worth making exactly as written.
- Use a kitchen scale if you have one. Weighing your flour instead of scooping it makes a real difference. Scooping packs flour into the cup and can result in a dense loaf. You want 360g of flour for this recipe.
- Lukewarm water is non-negotiable. Water that is too hot will kill the yeast before it even gets started. Aim for around 100 to 110°F, which should feel warm but comfortable on your wrist.
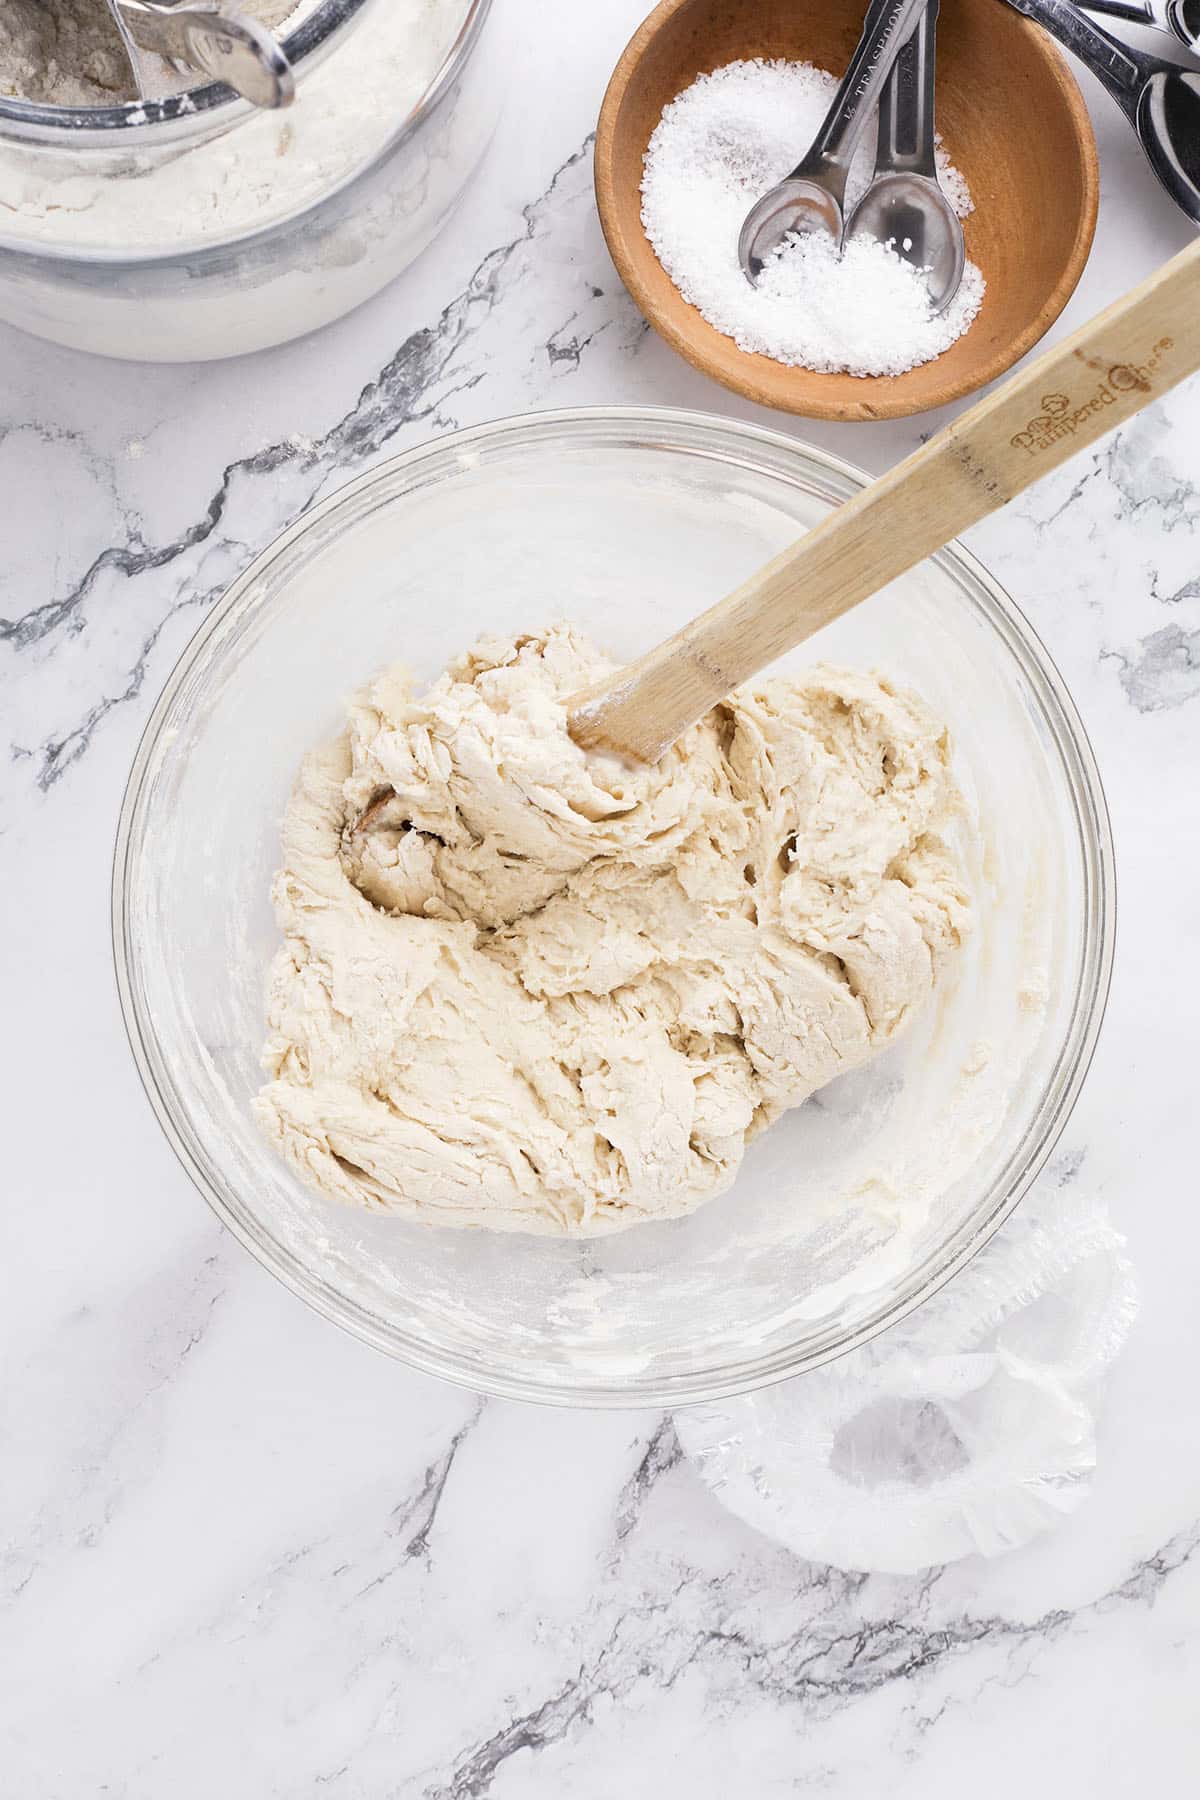
- A shaggy, sticky dough is a good dough. This dough will look like a mess when you first mix it. That is exactly right. Do not add more flour trying to fix it.
- The longer the rise, the better the flavor. Twelve hours will give you a great loaf. Eighteen hours will give you a spectacular one. If your kitchen is cold, lean toward the longer end.
- Let it cool before you cut it. I know it is painful, but slicing too soon lets all the steam escape and leaves you with a gummy crumb. Give it at least 20 minutes on the rack.

The Maillard Reaction
That deep mahogany crust you see on a well-baked artisan loaf is the Maillard reaction at work. When the bread hits the 450°F oven, the heat triggers a chemical reaction between the amino acids and sugars on the surface of the dough, producing hundreds of new flavor compounds along with that signature golden-brown color. It is the same reaction responsible for the crust on a perfectly seared steak or the caramelized edges of roasted vegetables. Without it, your bread would be pale, soft-crusted, and missing that deep, slightly nutty complexity that makes artisan bread so irresistible.
Removing the Dutch oven lid for the final 15 to 20 minutes of baking is specifically what triggers this. With the lid on, the trapped steam keeps the crust surface moist and prevents browning. The moment that lid comes off, the moisture evaporates and the Maillard reaction kicks into high gear. This is why the two-stage baking process matters so much: you cannot rush the lid-off stage, and you should not skip it.
Ingredients to Make Homemade Bread
- All-purpose flour: Bread flour works too, but all-purpose is perfect for beginners.
- Kosher salt: Enhances flavor and strengthens the dough.
- Active dry yeast: Just a pinch is all you need.
- Warm water: Not too hot, or it’ll kill the yeast.
- Cornmeal: for dusting and preventing sticking
Subs & Variations
- Bread flour can be swapped 1:1 for all-purpose flour and will give you a slightly chewier, more structured crumb. Great if you want a denser, heartier loaf.
- Add-ins are easy and encouraged. Fold in 1 cup of shredded cheddar or Gruyere, a handful of chopped rosemary and olives, or half a cup of raisins and a teaspoon of cinnamon before the first rise.
- Whole wheat flour can replace up to one cup of the all-purpose flour for a nuttier, earthier flavor. Replace more than that and the loaf will be dense.
- Instant yeast can be used in place of active dry yeast in the same quantity. You do not need to bloom it first, just mix it straight in with the flour.
- No Dutch oven? Use any heavy, oven-safe pot with a tight-fitting lid. A large cast iron skillet covered tightly with foil will also work in a pinch, though the crust won’t be quite as dramatic.

Tips for Storing
- Room temperature storage: Keep the bread at room temperature wrapped in a clean kitchen towel or paper bag for up to 2 days. Avoid plastic bags, which trap moisture and turn the crust soft and chewy.
- Freeze it: Slice the cooled loaf and freeze slices in a zip-top bag for up to 3 months. Pull individual slices out and toast them straight from frozen.
- Revive the crust: If your leftover bread has gone soft, run it under a little water and pop it in a 375°F oven for 8 to 10 minutes. The crust will crisp right back up.
- Do not refrigerate: The fridge dries out bread faster than room temperature storage. Skip it.
Frequently Asked Questions
A Dutch oven gives you the best results because it traps steam and creates a professional bakery-style crust. That said, any heavy oven-safe pot with a tight lid will work. A large cast iron skillet covered tightly with foil is a workable substitute, though the crust won’t be quite as crackly.
Yes. Use the same amount (1/4 teaspoon) and skip any blooming step. Instant yeast can be mixed directly into the dry ingredients. Your rise time may be slightly shorter.
The most common culprits are too much flour (always weigh if you can), water that was too hot and killed the yeast, or not enough rise time. Make sure your dough doubled in size and is bubbly before you shape it.
A minimum of 12 hours is recommended, with 14 to 18 hours being the sweet spot for the best flavor and texture. You can go up to 24 hours if your kitchen runs cold. The dough should look bubbly and have roughly doubled in size.
Technically yes, but the second 1 to 2 hour rest after shaping helps the loaf develop a better structure and rise more evenly in the oven. Skipping it will still give you a good loaf, just not quite as airy.
A 5 to 6 quart Dutch oven is the ideal size for this recipe. Too small and the loaf won’t have room to expand. Too large and it will spread out instead of rising up.

More Bread Recipes
- Soft Homemade Hamburger Buns
- Lemon Blueberry Artisan Bread
- Easy Butter Swim Biscuits
- Chocolate Olive Oil Zucchini Bread
- Cinnamon Raisin Bread
- Buttermilk Cornbread
No Knead Artisan Bread

Recommended Tools
Ingredients
- ¼ tsp active dry yeast
- 1 ½ cups lukewarm water
- 3 cups all-purpose flour, plus more for dusting
- 1 ½ tsp kosher salt
- cornmeal, for dusting

Instructions
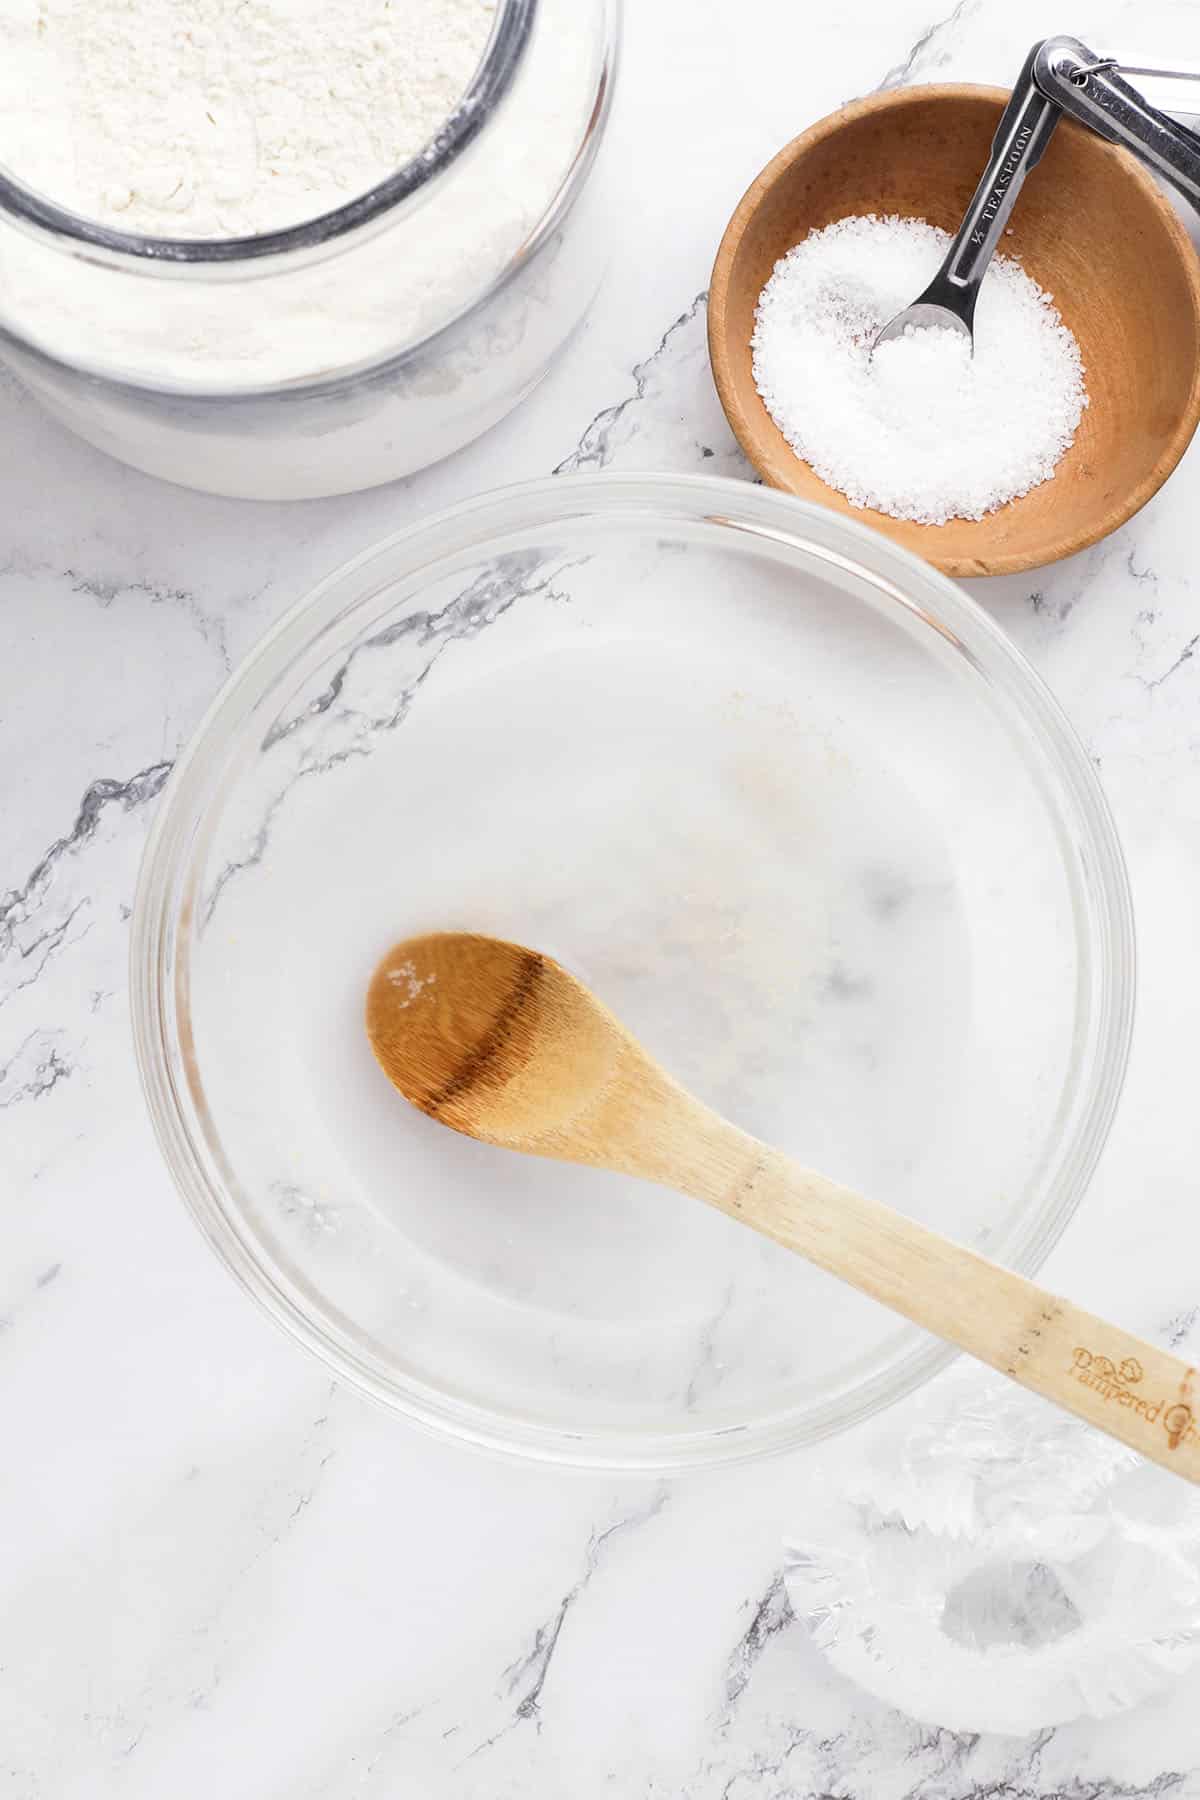
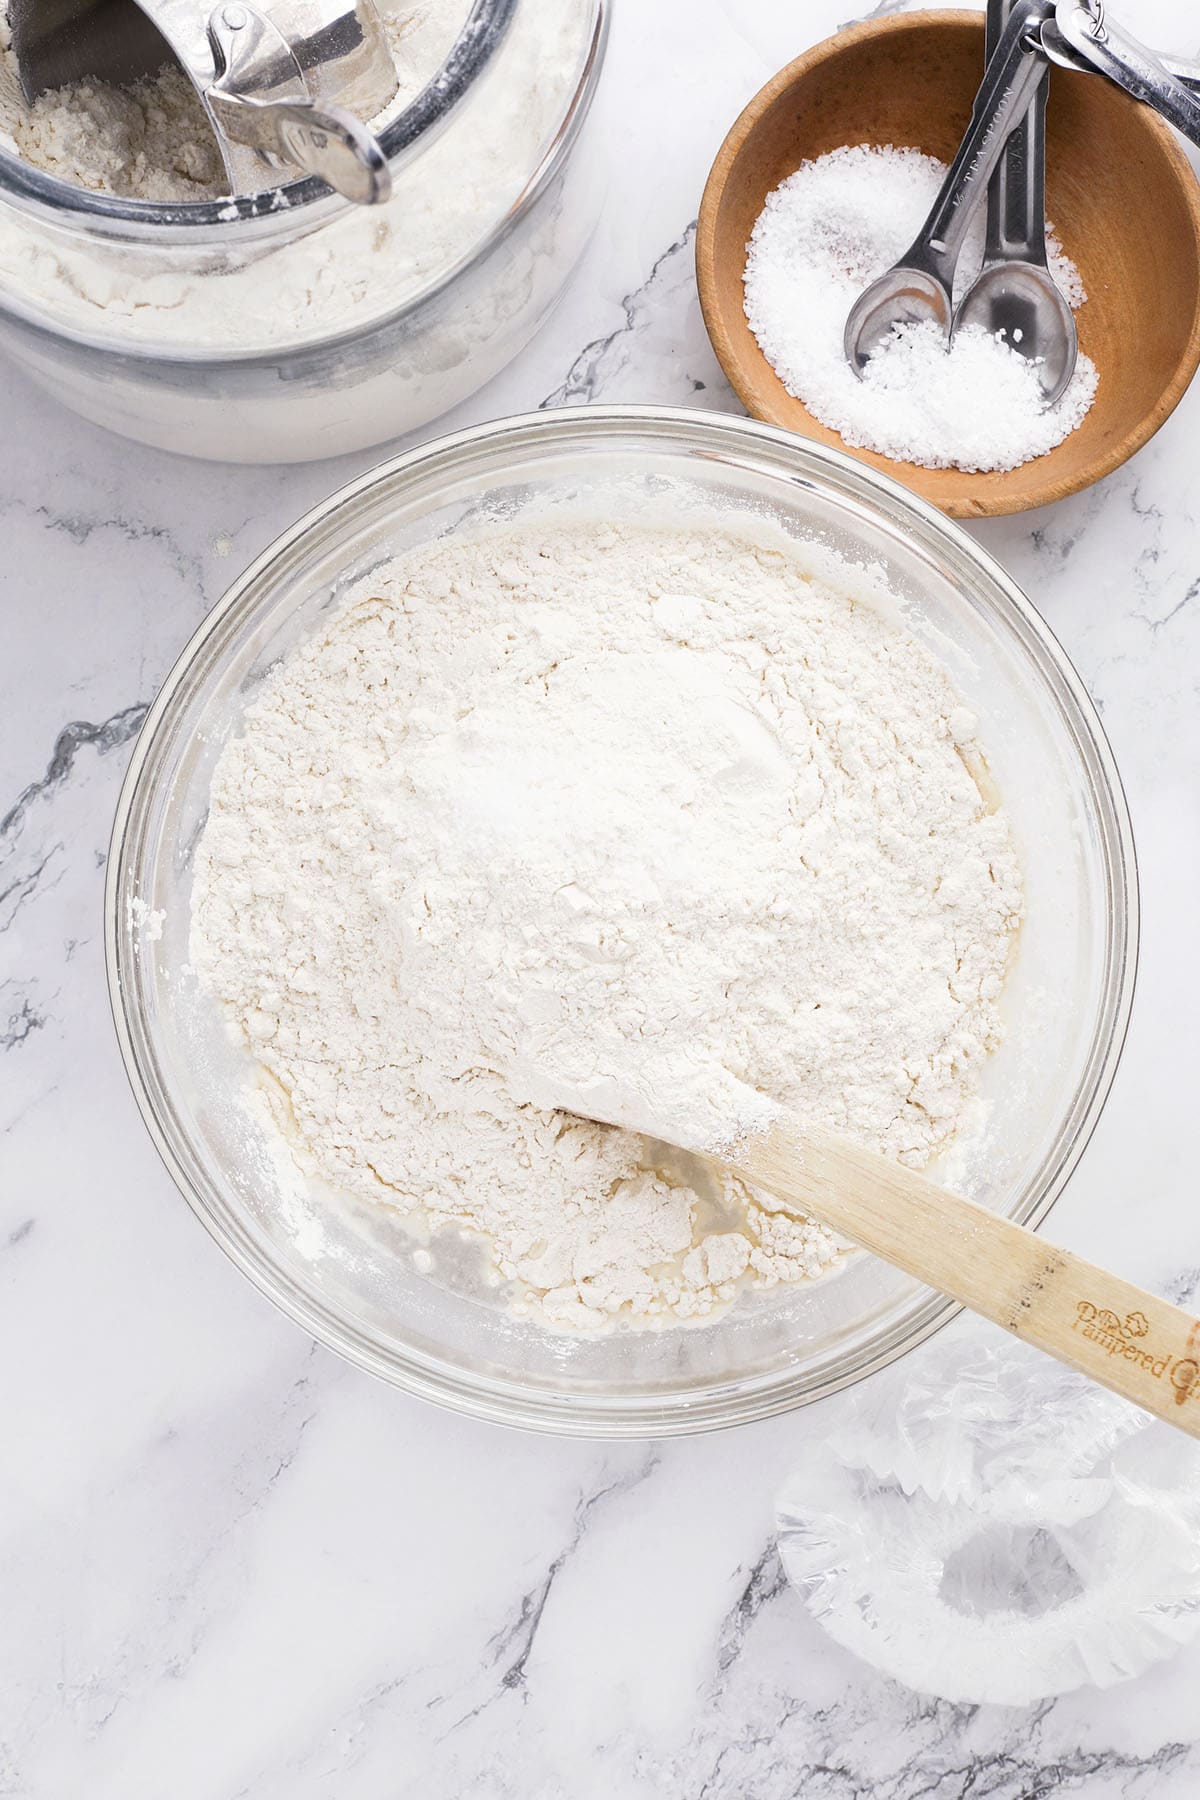
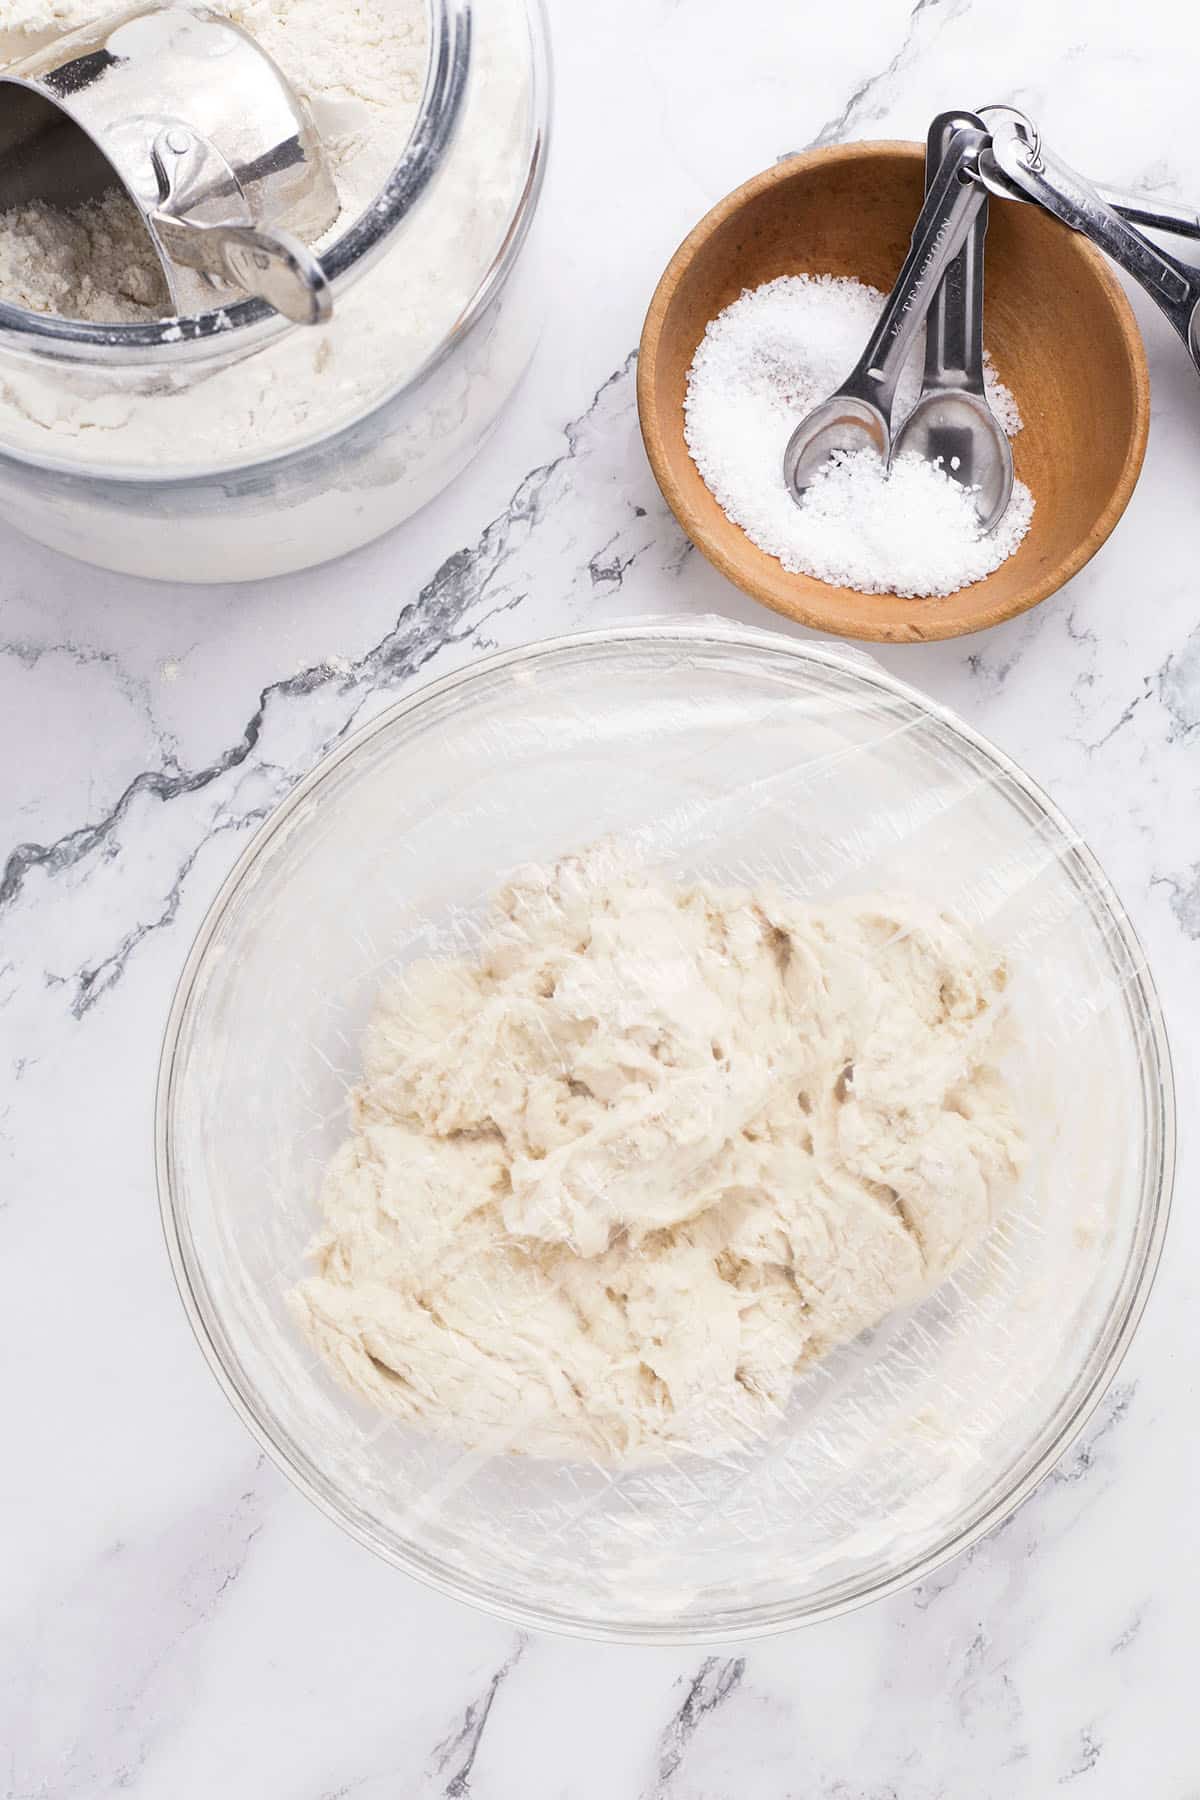
- In a large bowl, add the yeast and lukewarm water and stir. Allow to sit for 2 minutes. Add the flour and salt, stir with a wooden spoon to blend. Cover the bowl with plastic wrap and allow to rest for 8 hours, 14-18 hours preferably, at room temperature.
- After the dough has rested and risen, flour a work surface and turn out the dough. Flour lightly and fold the dough over itself twice. Cover with a clean kitchen towel and rest 20 minutes.
- Gently shape into a ball, dust with cornmeal and cover again with the kitchen towel or place in a bread proofing basket for 1-2 hours.
- Heat oven with 5.5 qt dutch oven inside to 475º F. Gently place the dough, seam side up on a piece of parchment paper (not waxed paper) and lower into the hot dutch oven. Cover and bake 30 minutes. Remove the lid and continue baking 15-20 minutes longer. Remove and allow to cool for 20 minutes or more before slicing.
Notes
- Room temperature storage: Keep the bread at room temperature wrapped in a clean kitchen towel or paper bag for up to 2 days. Avoid plastic bags, which trap moisture and turn the crust soft and chewy.
- Freeze it: Slice the cooled loaf and freeze slices in a zip-top bag for up to 3 months. Pull individual slices out and toast them straight from frozen.
- Revive the crust: If your leftover bread has gone soft, run it under a little water and pop it in a 375°F oven for 8 to 10 minutes. The crust will crisp right back up.
- Do not refrigerate: The fridge dries out bread faster than room temperature storage. Skip it.
Did you make this recipe?
Please leave a star rating and review . I appreciate your feedback, and it helps others too!
Hi! I’m Heather
I’m Heather, a recipe developer and content creator based in Vancouver, Washington. I started Farmgirl Gourmet in 2006 because I believed weeknight dinners shouldn’t be boring and gourmet shouldn’t mean complicated. I’m also the co-founder of Spiceology, so safe to say I think about food for a living. Stick around for recipes that actually make it into your regular rotation.
Would this work with gluten-free flour?
You can try with a 1 to 1 gluten free flour – I have not tested it, so I am not sure.
Hi, at the beginning, you mentioned using instant yeast, however, when you list the ingredients you put active dry yeast? This is my first time making bread and the first recipe I picked so I’m confused. Thanks.
Thank you for catching this. The ingredients in the recipe card (active dry yeast) are correct and not instant yeast. I appreciate you letting me know. ~heather
Can I use bread flour?
You can, but the texture may turn out different. I have not tested it with bread flour, but if you do, I’d love to hear how it turns out. ~heather
I love to try new recipes all the time. My family loved this one, I share it with my niece who is a pastry chef and tried the bread when visited me. Thank you, very yummy and easy, love this bread.
I will try this bread. Also, do u have a receipt for “no knead” sour dough bread? Thanks, liz
I don’t have a Dutch oven. would a stainless pasta pan work?
only if it’s oven proof and has a lid.
Heather, would this work in a heavy stoneware covered dish in the oven?
Yes that should work just fine.
What size Dutch oven.
5.5 qt dutch oven. Oops…should’ve mentioned that! 🙂 Nice catch.