


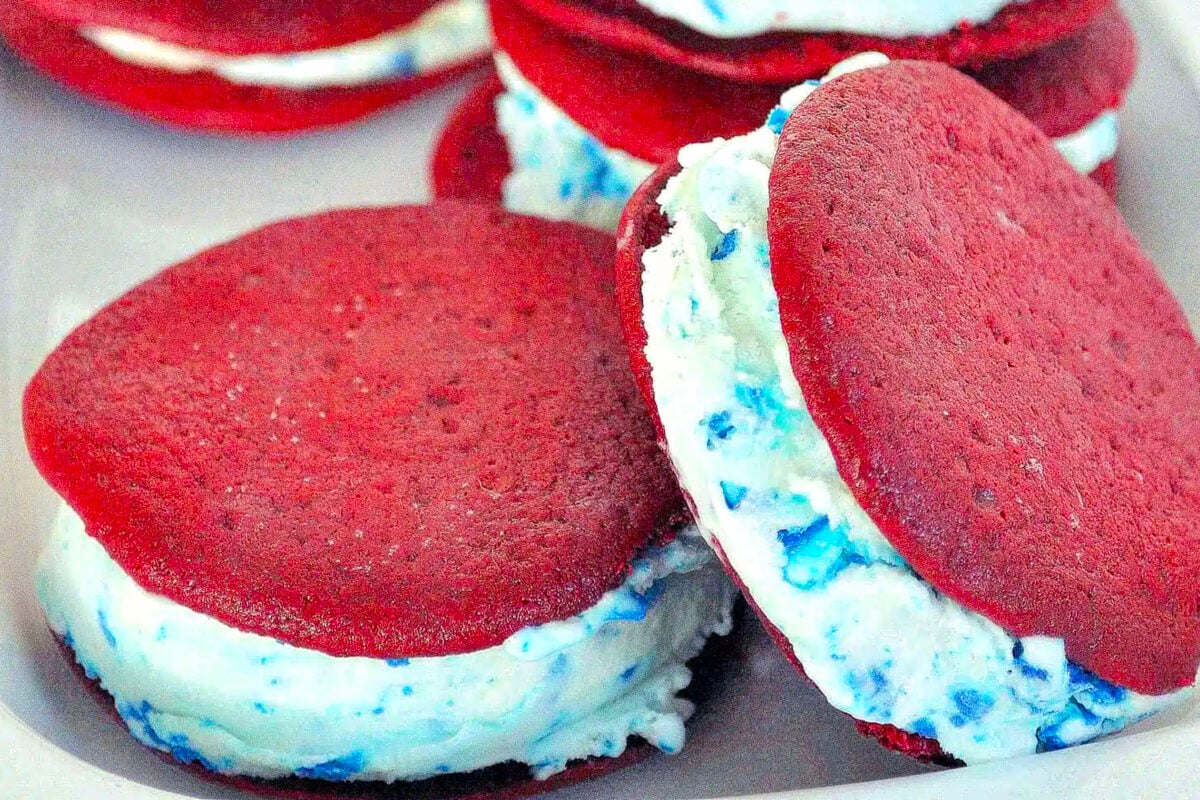
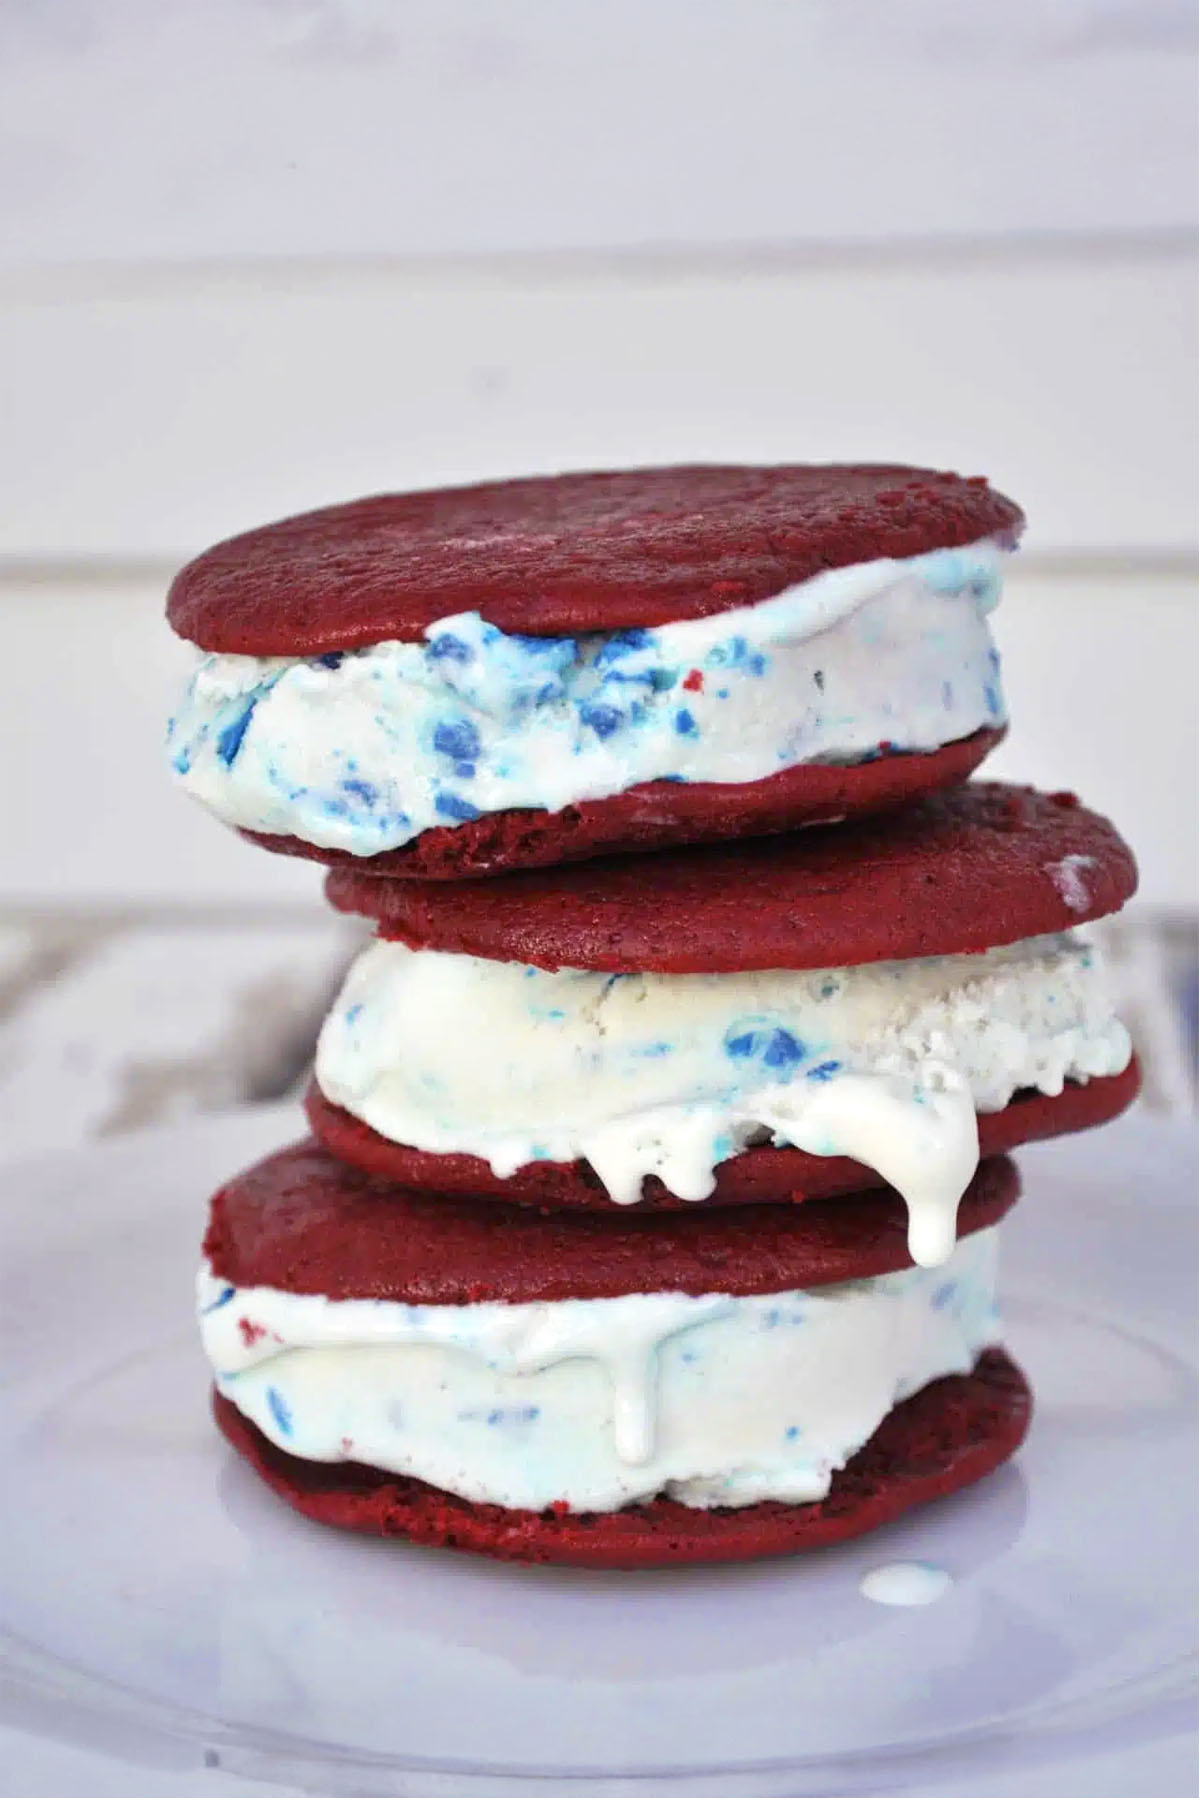
Red white and blue ice cream sandwiches are the dessert that makes you look like you tried way harder than you did. Moist red velvet cookies hug a scoop of cream cheese ice cream that’s swirled with a streak of blue white chocolate, and the whole thing screams 4th of July without screaming “boxed mix.”
I first made these for a backyard barbecue and they disappeared faster than the potato salad. If you’re building out a full spread, they pair beautifully with my Rolo Buttermilk Ice Cream for a second flavor option, or serve alongside a batch of Homemade Moose Tracks so guests can pick their favorite.
In This Post
Why This Works
The magic here is in the contrast. Red velvet cookies are dense enough to hold up to a generous scoop of ice cream without cracking or turning to mush, while the cream cheese base keeps the ice cream tangy instead of one-note sweet. The blue chocolate swirl isn’t just for color either, it adds little bites of crunch against the smooth ice cream, so every bite has texture as well as flavor.
Heather’s Recipe Notes
Drawing from 20 years of recipe development and my time co-founding a spice company, here’s what makes this recipe worth making exactly as written.
- Use gel food coloring, not liquid, for both the cookies and the chocolate swirl. Gel gives you a truer, more saturated color without watering down the batter or the melted chocolate.
- Don’t skip chilling the ice cream base fully before churning. A warm base churns slower and can end up icy instead of creamy.
- I always melt my white chocolate low and slow, either in a double boiler or short bursts in the microwave, so it doesn’t seize before I can swirl in the color.
- If your cookies spread more than expected, that’s usually a sign the butter was too warm when you creamed it. Room temperature butter should still hold its shape when pressed.
- A hinged ice cream scoop is worth owning if you make sandwiches often. It portions the ice cream evenly and speeds up assembly considerably.
Ingredients in Patriotic Ice Cream Sandwiches
Red Velvet Cookies
- All-purpose flour
- Unsweetened cocoa powder
- Baking soda
- Salt
- Unsalted butter
- Granulated sugar
- Egg
- Red food coloring
- Vanilla
- Buttermilk
Cream Cheese Ice Cream with Blue Chocolate Swirl
- Cream cheese
- Whole milk
- Lemon juice
- Vanilla
- Granulated sugar
- Kosher salt
- Heavy cream
- White chocolate
- Royal Blue gel food coloring
Subs & Variations
- Swap the cream cheese ice cream for a simple vanilla bean base if you want something a little less tangy.
- Use white chocolate chips instead of a chopped bar if that’s what you have on hand, just melt them the same way.
- Make mini sandwiches with a smaller cookie scoop for a party-friendly, bite sized version.
- Trade the red velvet cookie for a classic chocolate chip cookie if you want a more neutral base that still holds up well.
- No ice cream maker? Use a good quality store bought vanilla or cream cheese ice cream and fold in the blue chocolate swirl by hand before refreezing.
Tips for Storing
- Avoid refreezing a sandwich once it’s fully thawed, the texture of the ice cream won’t bounce back the same way.
- Wrap each finished sandwich individually in plastic wrap before freezing. This keeps them from sticking together and protects against freezer burn.
- Store wrapped sandwiches in an airtight container or freezer bag for up to two weeks.
- Let sandwiches sit at room temperature for 5 minutes before serving so the ice cream isn’t rock hard.
- Unbaked cookie dough can be portioned and frozen ahead of time, then baked straight from frozen with a few extra minutes added to the bake time.
Frequently Asked Questions
Yes. Assemble the sandwiches, wrap them individually, and store them in the freezer up to two weeks ahead. Pull them out right before serving.
This usually happens when the base isn’t fully chilled before churning, or when the ice cream sits in the freezer uncovered for too long after churning. Make sure your base is cold and your storage container is airtight.
Absolutely. Swap the red velvet cookie and blue swirl for colors that match whatever you’re celebrating. The technique stays exactly the same.
An ice cream maker gives the best texture for the cream cheese base, but you can fold the blue chocolate swirl into a softened store bought ice cream if you’re short on time or equipment.
Baked cookies keep well at room temperature in an airtight container for a couple of days, or in the freezer for up to a month if you want to get ahead of the holiday rush.
Yes, just reduce the scoop size and shorten the bake time slightly, checking a few minutes early so they don’t overbake.
More Ice Cream Recipes We Love
Red, White & Blue Ice Cream Sandwiches Recipe


Recommended Tools
Ingredients
Red Velvet Cookies
- 1 ¼ cups all-purpose flour
- 1 ½ tbsp unsweetened cocoa powder
- ½ tsp baking soda
- ½ tsp kosher salt
- 5 tbsp unsalted butter, room temperature
- ¾ cup granulated sugar
- 1 large egg
- 1 tbsp red food coloring
- 2 tsp vanilla extract
- ½ cup buttermilk
Cream Cheese Ice Cream with Blue Chocolate Swirl
- 8 oz cream cheese, softened
- 1 cup whole milk
- 1 tbsp lemon juice, fresh squeezed
- 1 tbsp vanilla extract
- ¾ cup granulated sugar
- ⅛ tsp kosher salt
- ½ cup heavy cream
- 3 oz white chocolate, melted
- ½ tsp Royal Blue gel food coloring, such as Wilton
- 1 tsp heavy cream

Instructions
Red Velvet Cookies
- Preheat the oven to 350ºF. Line a baking sheet with parchment paper and set aside. In a medium bowl, whisk together the flour, cocoa powder, soda and salt. Set aside.
- In a large bowl, or the bowl of a stand mixer, beat the butter and sugar together until light and fluffy, about 2 to 3 minutes. Add the egg, food coloring and vanilla and beat to incorporate. Alternate the flour and buttermilk into the butter mixture and beat until smooth.
- Using a hinged ice cream scoop (or 1/4 cup measure) drop cookie batter onto the prepared baking sheet about 2 inches apart as the batter will spread. Bake 12-15 minutes, or until the centers spring back when touched lightly. Cool for 5 minutes on the baking sheet and then transfer to a wire rack and cool completely.
Cream Cheese Ice Cream
- Blend cream cheese, milk, lemon juice, vanilla, sugar and salt in a blender or food processor until smooth. Transfer to a bowl and stir in the cream.
- Using an ice cream maker, freeze according to manufacturers instructions. While the ice cream is churning, mix the melted white chocolate and food coloring together with the cream. When the ice cream is almost done, pour in the chocolate mixture. Transfer to an airtight container and put in the freezer to harden, about 2 hours.
Assembly
- Remove ice cream from freezer and allow to sit for 5 minutes before assembling.
- Using a hinged ice cream scoop, add about 1/4 cup on a cookie and place another on top and press gently to spread the ice cream out to the sides. Place on a cookie sheet and continue with the remaining 9 cookies.
- Put the cookie sheet into the freezer to set the sandwiches for about 1 hour. Remove and wrap each individually with plastic wrap. Put back in the freezer until you're ready to eat them.
Save this Recipe!
Easily save this recipe to your own recipe collection box and come back to it anytime you want!
Notes
Nutrition
*Nutritional information is not guaranteed to be accurate.
Did you try this recipe?
Please Leave a Review & Star Rating!

Hi! I’m Heather
I’m Heather, a recipe developer and content creator based in Vancouver, Washington. I started Farmgirl Gourmet in 2006 because I believed weeknight dinners shouldn’t be boring and gourmet shouldn’t mean complicated. I’m also the co-founder of Spiceology, so safe to say I think about food for a living. Stick around for recipes that actually make it into your regular rotation.
I really love this recipe and hope you will too!
i wanted to try these ever since I saw them on I am baker.
So easy it will flip your skirt! ha! Love it…
These are cute, and I know they wouldn’t last long here. Ice cream never does. Great idea!
Sinful indulgence! Love the colorful stuffing in the sandwich.
You are my hero! this is absolutely wonderful!
Swirling colored white chocolate in with the ice cream! Genius! I love the look of that!
Aren’t these cute! Very creative!
This is the picture of perfection for a Fourth of July dessert! I want to jump into the computer and lick that ice cream sandwich 🙂 Thanks for commenting on Yummy Mummy so I could find you. I love your blog! Come link up – I just posted my Yummy Friday linky. The world needs to see this recipe.
P.S. That picture with the drip is insane. LOVE it.
These are so festive & fabulus!! Such a great idea for the 4th 🙂
You are evil. Making an ice cream sandwich out of red velvet cake… evil. But I love it.
love these! We both have ice cream sandwiches on the brain
Whoa…I just gained weight looking at those! Yum!
Stop by my blog and check out the Chicken Mansion!
I cannot imagine photographing these! But they look gorgeous and very theme-appropriate! I’d say (with my expertise in Nutrition) that each of these are about 120 calories each! 😉
So very patriotic and even more important, so very cool as we hit the dog days of summer. Whatever that means. 🙂
I’m making ice cream this weekend, well, sorbet. I can’t wait…there is nothing quite like a homemade sweet treat like this!
My kids would LOVE this! cute idea 🙂
OK, now that is making me crazy….that just might be a perfect summer picnic idea {as long as your close to a freezer, that is}! 🙂